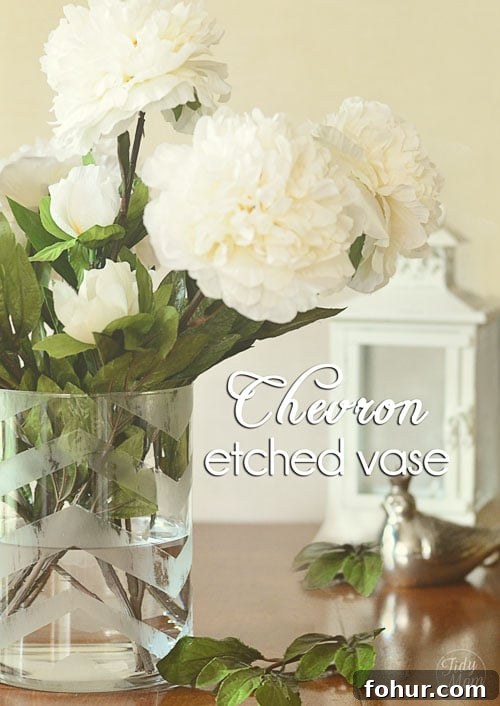
How to Etch a Glass Vase with a Chevron Pattern
Something is in the air this summer — it seems like everyone is getting married. With so many showers and weddings, a handmade gift can feel special and personal. Etching a glass vase is an easy DIY that transforms a simple glass vase into an elegant, chic piece suitable for weddings, showers, birthdays, Mother’s Day, or just because. Below is a straightforward guide for creating a chevron-etched glass vase at home.
What you will need
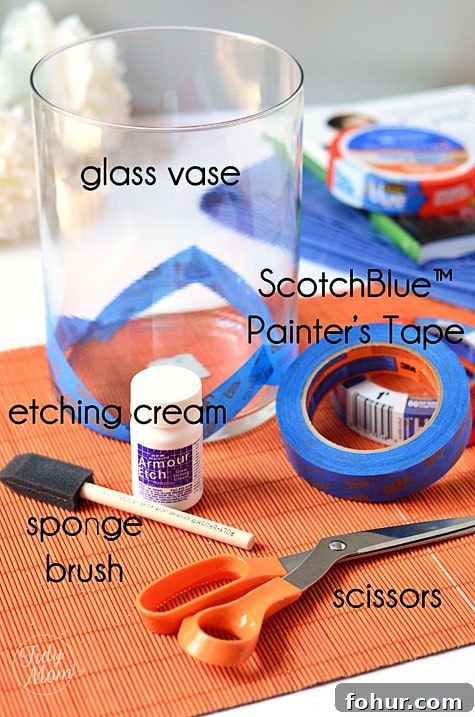
- Glass vase, cleaned and dried.
- Painter’s tape (for masking your chevron pattern).
- Etching cream (for example: Armour Etch or a similar product designed for glass etching).
- Sponge brush or foam applicator to apply the etching cream.
- Scissors for cutting tape.
- Rubber or latex glove to protect your hand while applying and rinsing etching cream.
- Access to a sink (avoid rinsing etching cream in a ceramic sink—use a utility sink or an area where rinsing the cream is safe).
Preparing the Vase and Masking the Pattern
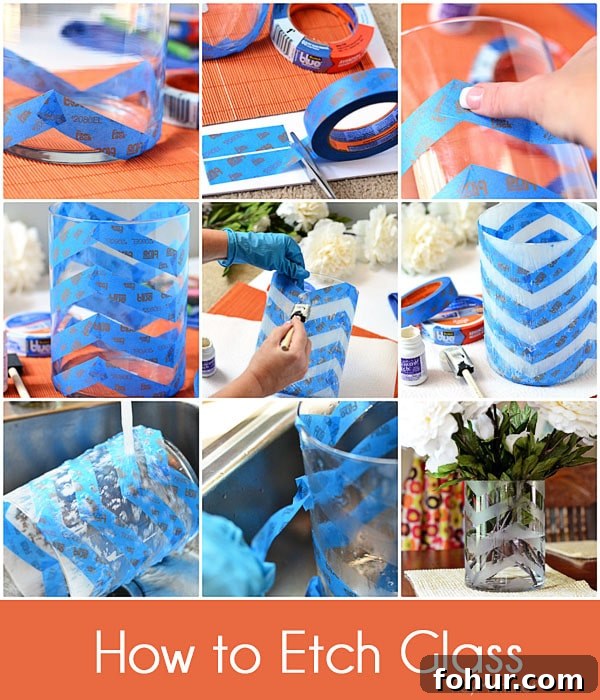
Start with a clean, dry vase. Any oils or residue will affect how the tape adheres and how the etching cream contacts the glass. Measure visually or mark lightly, but you don’t need to be perfect — I mostly eyeballed the placement and it turned out great.
Cut strips of painter’s tape about 4.5–5 inches long. To form the chevron pattern, create several upside-down wide “V” shapes by placing tape strips on the vase so the exposed glass between the tape forms the chevron stripes. Work from the bottom upward, spacing the rows evenly. Take your time aligning each row — this step takes the longest, but small inconsistencies lend a handmade charm.
Applying the Etching Cream
- Put on a latex or rubber glove on the hand that will hold the vase and another glove if desired for the applicator hand.
- Use the sponge brush to apply a thin-to-medium layer of etching cream to the exposed glass areas (the parts that are not covered by tape). Follow the etching cream manufacturer’s instructions for recommended thickness and coverage.
- Allow the etching cream to sit on the glass for at least ten minutes. This timing is sufficient for many household etching creams, but always follow the specific product directions on your container.
- With gloves still on, carry the vase to a sink and rinse thoroughly to remove all traces of etching cream. Avoid rinsing in a ceramic sink if advised against by the product instructions.
- Remove the tape carefully, then dry the vase to reveal the etched chevron stripes.
Finishing Touches and Gift Ideas
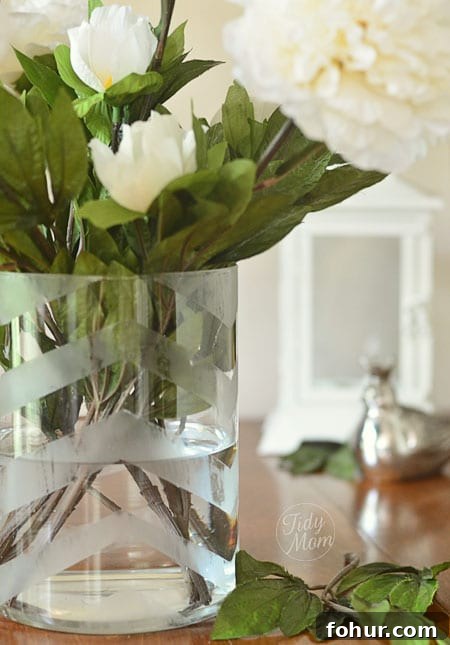
Once dry, you can leave the vase as-is for a clean etched look or add fresh flowers, a ribbon, or a small handwritten tag for gifting. These chevron-etched vases make lovely presents for weddings, bridal showers, anniversaries, Valentine’s Day, Mother’s Day, and holidays. Consider pairing the vase with a bouquet, a packet of flower food, or a handwritten note for a thoughtful package.
Safety Tips
- Always wear gloves and follow the etching cream manufacturer’s safety instructions. Avoid contact with skin and eyes.
- Work in a well-ventilated area and keep etching cream away from children and pets.
- Rinse etching cream in a suitable sink as recommended by the product instructions.
Have you made any handmade gifts lately?
This project is simple, affordable, and customizable — a perfect way to create a stylish, handmade gift that looks far more polished than its effort might suggest. With a little patience on the taping step, you can create clean chevron stripes or experiment with other patterns by changing how you mask the glass.