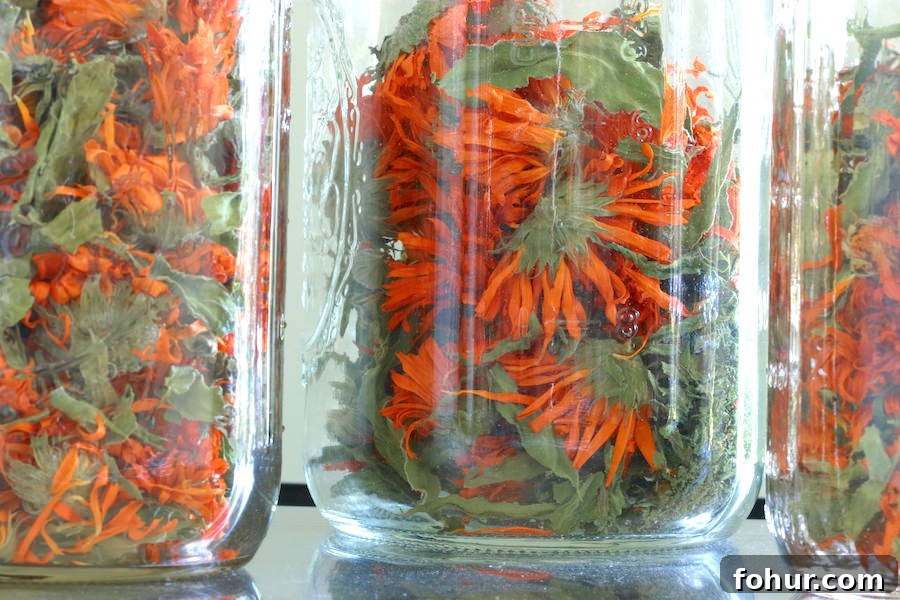
Whether you’re drying calendula for oil, salves, creams, or tea, a dehydrator is the preferred choice. The caps on the underside of the blossoms take a long time to fully dry and can easily mold, especially in humid or rainy conditions. Be sure to dry and use the flower bases as well as the petals—the base contains many of the plant’s nutrients and medicinal properties.
If you don’t have a dehydrator, you can air dry calendula, but only if you live in an arid environment. Below are two reliable methods for drying calendula: using a dehydrator and hanging to air dry.
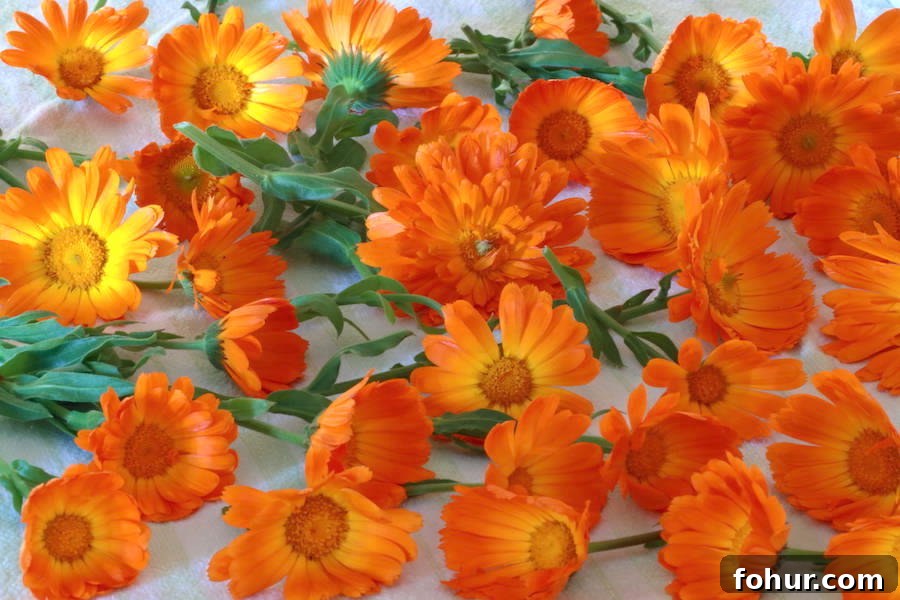
I recommend harvesting both blossoms and leaves. The leaves contain iodine and other beneficial properties that enhance oils, salves, creams, and teas. Calendula plants are prolific and will continue to produce flowers even when you harvest part of the stem and leaves along with the blossoms.
Method Overview
- Harvest flowers with stems and leaves in late morning on the day they bloom; partially opened flowers are fine.
- Clean and lay them out on a towel to remove excess water.
- Either arrange them on dehydrator shelves or hang small bundles to air dry in a well-ventilated, dry space.
Frequently Asked Questions and Definitions
Yes, washing often helps remove soil, grass, and debris. If your harvest looks clean and free of grit, you may skip washing, but a quick rinse is usually helpful.
Place blossoms still attached to stems and leaves into a large bowl of clean, cold water. Swish gently, allow dirt to settle, lift out the calendula, and discard the water. Repeat until the water is clear. Lay the washed calendula in a single layer on a towel, cover with a second towel, and gently blot to remove surface moisture.
Garbling is the process of removing leaves and flowers from the stems. Once dried, run your fingers down each stem to release the leaves and flowers into a bowl or jar. Stems are typically discarded or composted.
Conditioning is the process of equalizing moisture among dried pieces to prevent mold. It involves placing cooled dried herbs in loosely packed jars, storing them out of direct sunlight, and checking daily for condensation or signs of moisture.
After blossoms and leaves are completely dry and cooled, loosely pack them into glass jars with tight lids. Store jars out of sunlight and shake daily to separate pieces and check for moisture. If condensation appears, remove contents and dry again. After 7–10 days of conditioning without issues, pack the jars more tightly and store in a cool, dry, dark place.
If you are shopping for a dehydrator, look for models with multiple trays, an adjustable thermostat, a circulating fan, and optional stainless steel shelves for food- and herb-safe drying.
Drying Calendula in a Dehydrator
This is the preferred method for drying calendula, especially in humid climates.
Equipment
- Dehydrator with multiple shelves
Ingredients
- Calendula blossoms with stems and leaves
Instructions
- Place blossoms with stems and leaves into a large bowl of cold water. Swish gently, let dirt settle, lift out the calendula, and pour off the water. Repeat until the water runs clear.
- Place the calendula in a single layer on a towel, cover with a second towel, and gently blot to remove excess moisture.
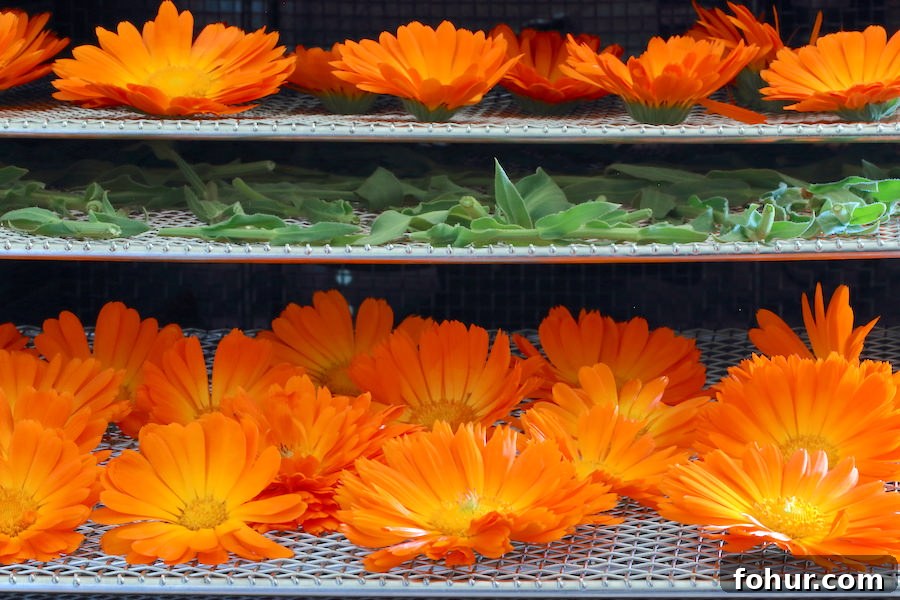
- Cut blossoms near the base and arrange them in a single layer on dehydrator trays, leaving space between each blossom. Arrange stems and leaves on separate trays in a single layer.
- Turn the dehydrator on. If the unit has a thermostat, set it to 125°F. At this temperature, blossoms typically dry in 8–10 hours; lower settings may take much longer and increase the risk of mold in the base of the blossom.
- Rotate and flip trays periodically to ensure even drying. If your dehydrator lacks a circulating fan or thermostat, rotate trays more often and monitor closely.
- The leaves will become brittle before the blossoms. Remove leaf trays once fully dry, allow them to cool completely, then garble the leaves from the stems and store in glass jars. Compost the stems.
- The underside base of the blossoms will take the longest to dry. Be patient and ensure the entire flower, including the base, is completely dry before cooling and storing.
- After cooling, loosely pack dried flowers and leaves into jars and condition for 7–10 days by checking daily for condensation or mold and shaking to separate pieces. If condensation appears, re-dry the calendula.
- When conditioning is complete, store jars in a cool, dry, dark location.
Drying Calendula by Hanging on a Line
Air drying is effective only in dry, well-ventilated locations.
Equipment
- Line, string, or rack for hanging herbs
Ingredients
- Calendula blossoms and stems with leaves
Instructions
- Clean calendula in cold water as described above, then gently blot on towels.
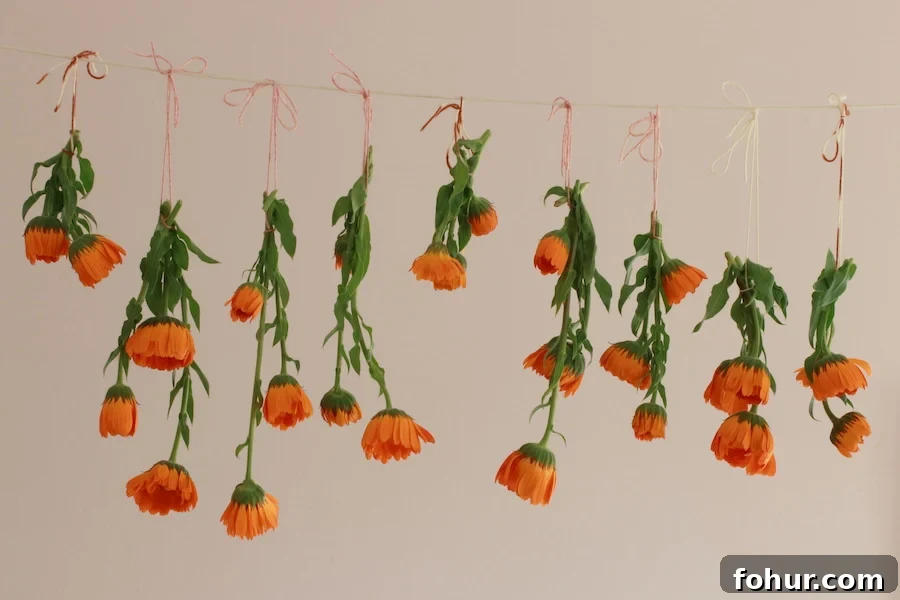
- Hang small bundles from a line, ensuring bundles are loose to encourage airflow. Avoid large, tightly packed bundles.
- Place the drying line in a darkened room with good air circulation and out of direct sun. Drying may take several days; the underside base of the blossom will take the longest to dry.
- Once fully dry, cut flowers from stems and garble leaves from stems. Compost the stems. Loosely pack dried material into jars for conditioning.
- Shake jars daily and inspect for condensation. If moisture appears, return calendula to a well-ventilated drying surface such as a screen or drying rack.
- After 7–10 days of conditioning without signs of moisture, store jars in a cool, dry, dark place.
Benefits of Calendula
Topical benefits
- Supports wound healing
- Reduces inflammation
- May reduce scar formation
- Helps prevent bacterial infections
- Can soothe sunburn
Internal support
- Supports the lymphatic system
- Assists channels of elimination
- Supports liver and gallbladder function
- Supports gastrointestinal tract health and may reduce gland and GI inflammation
If you found these calendula drying methods helpful, consider exploring other herb-drying and medicinal herb topics such as building a medicinal herb garden or drying fruits and vegetables for later use.