
Everything you need to know to bake delicious sourdough at home—explained clearly for beginners and useful for experienced bakers.
Introduction to Sourdough Baking
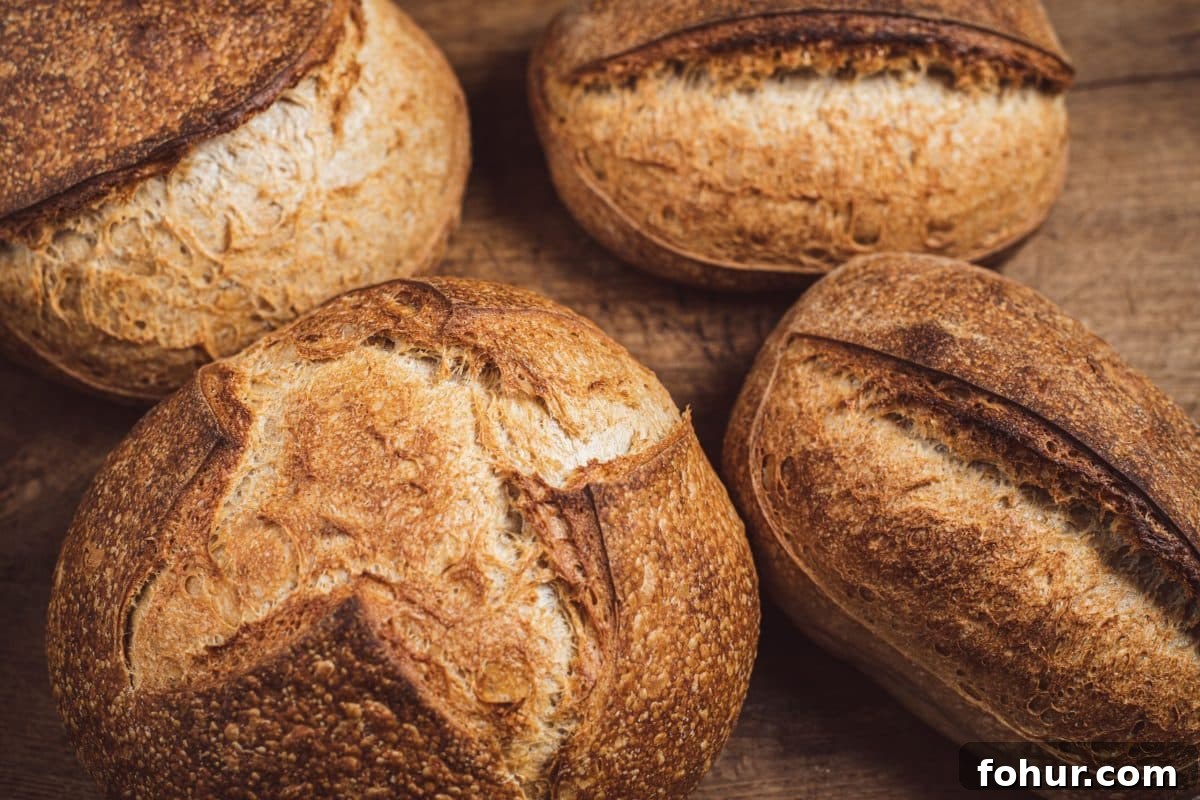
Sourdough is an ancient, natural method of breadmaking that uses a live starter of wild yeast and beneficial bacteria. Unlike breads made with commercial yeast, sourdough develops flavor and structure slowly through fermentation, producing a tangy taste, chewy crumb, and a crusty exterior. With patience and simple technique, you can make consistently excellent loaves at home.
Each section below explains ingredients, equipment, timing, and troubleshooting. Where possible, substitutes are suggested so you can adapt recipes to what you have on hand.
Why Choose Sourdough?
- Natural fermentation: No commercial yeast—just flour, water, and time.
- Easier digestion: Long fermentation helps break down proteins and unlock nutrients.
- Rich flavor: Complex, tangy notes you won’t get from quick-rise breads.
- Longer shelf life: Natural acids help preserve the loaf without additives.
- Rewarding hobby: Baking sourdough teaches technique and patience.
Sourdough Terms Made Simple
Here are the common sourdough terms explained in plain language so the process feels manageable.
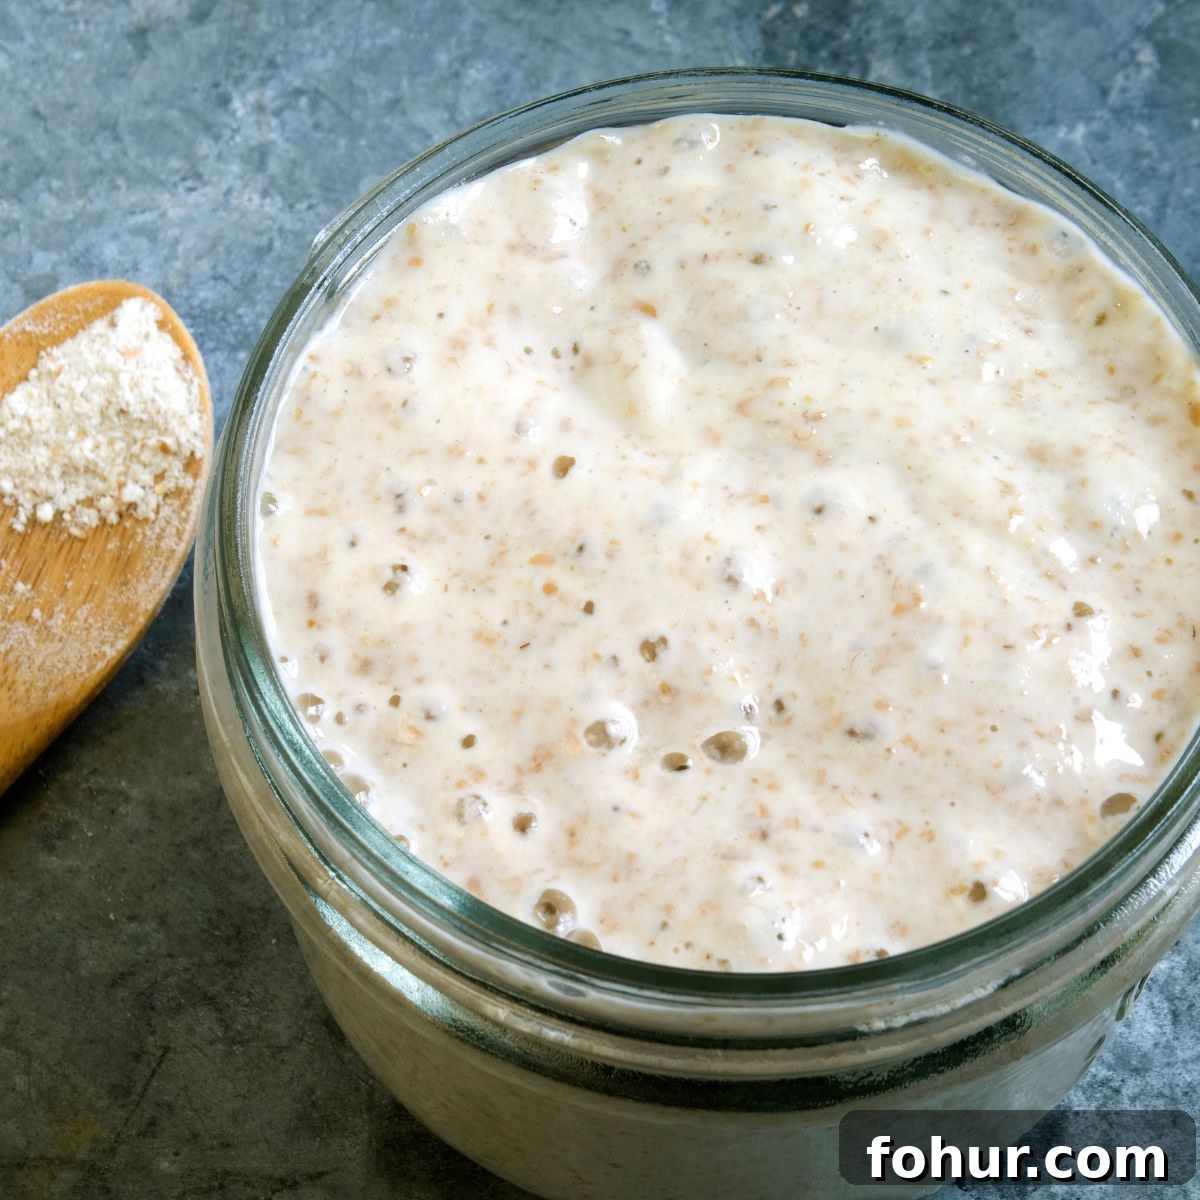
Starter (or levain): A living mix of flour and water housing wild yeast and bacteria—the engine of your bread.
Active/bubbly starter: A starter that has been recently fed, is full of bubbles, and doubles in size—ready to use.
Discard: The portion removed before feeding. Save discard for pancakes, crackers, and quick breads.
Hydration: The ratio of water to flour, expressed as a percentage—e.g., 70% means 70 g water per 100 g flour.
Autolyse: Mixing only flour and water and letting it rest to develop gluten naturally.
Bulk fermentation (first rise): The time after mixing when dough develops flavor and structure.
Stretch and fold: A gentle technique to build gluten by stretching one side of the dough and folding it over.
Gluten: The protein network that provides structure and traps air bubbles.
Proofing (final rise): The last rise after shaping, when the dough becomes puffy before baking.
Banneton: A proofing basket that helps the dough keep its shape and leaves attractive patterns.
Scoring (slashing): Cutting the dough’s surface just before baking to control expansion and create an attractive crust.
Oven spring: The rapid rise in the first minutes of baking as trapped gases expand.
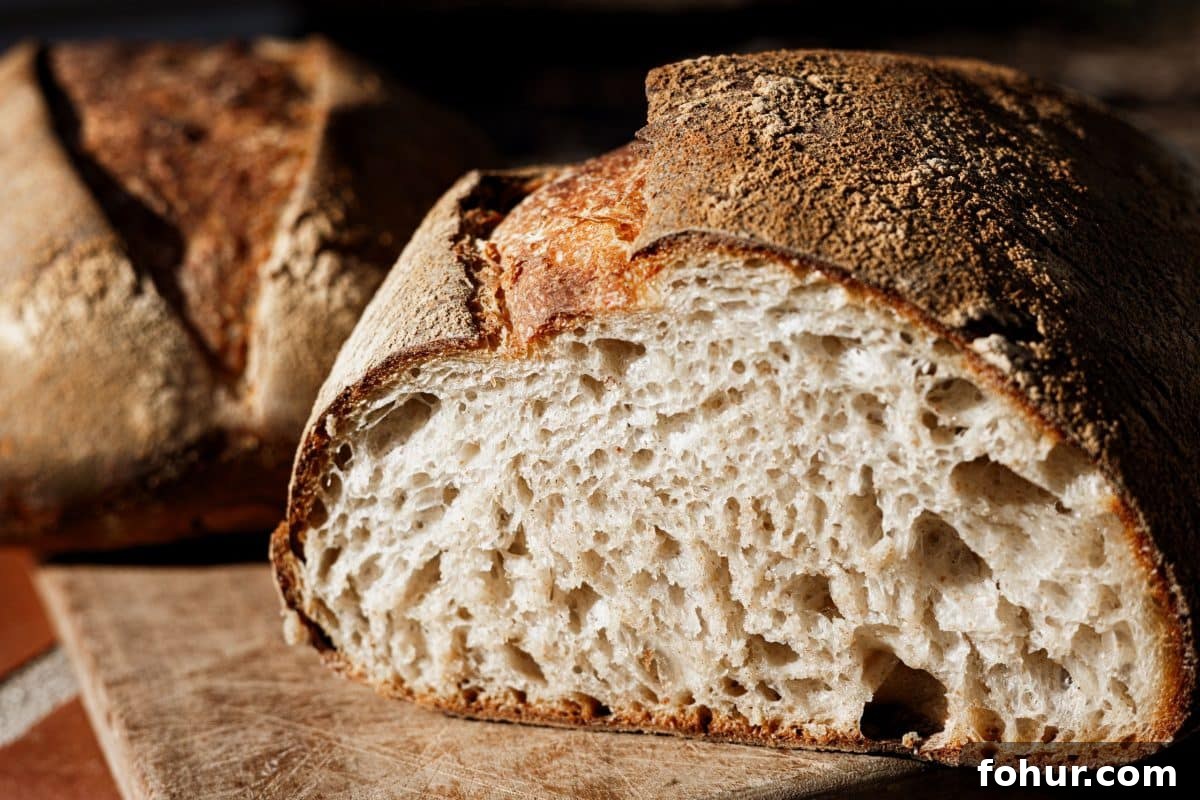
Crumb: The internal texture of the bread—can be open (large holes) or tight (small holes).
Ear: The raised, crispy ridge that can form where you scored the loaf.
Lame: A razor tool used for scoring; a sharp knife will work too.
Dutch oven: A heavy pot with a lid used to trap steam for a crisp crust.
Float test: A spoonful of starter dropped into water—if it floats, it’s likely active and ready.
Poke test: Gently press proofed dough—the indentation should slowly spring back when it’s ready to bake.
Understanding Your Sourdough Starter
Your starter is the heart of every loaf. It’s a living culture that needs consistent feeding and a bit of attention. Treat it like a pet: regular meals and a clean environment keep it healthy.
Creating Your Starter
A simple daily routine will establish a reliable starter over about a week:
Day 1: Mix equal parts flour and water (for example, 50 g each) in a clean jar.
Days 2–7: Discard half, then add fresh flour and water daily until activity is steady.
Ready when: The starter doubles within 4–6 hours and passes the float test.
Maintaining Your Starter
- Room temperature: Feed daily with equal parts flour and water.
- Refrigerated: Feed weekly and take it out 12–24 hours before baking to reactivate.
- Always use clean utensils and filtered water if your tap water is heavily chlorinated.
Preparing Enough Starter for Your Recipe
If a recipe calls for a specific amount of active starter, feed your jar so you have the required amount plus a bit to keep the culture going.
For 1 cup starter (about 240 g)
- Feed with: 125 g flour + 125 g water
- Total after feeding: Approximately 300 g (allowing 60 g to keep for the next feeding)
For 1½ cups starter (about 360 g)
- Feed with: 185 g flour + 185 g water
- Total after feeding: Approximately 430 g (keep ~70 g for maintenance)
For 2 cups starter (about 480 g)
- Feed with: 245 g flour + 245 g water
- Total after feeding: Approximately 560 g (keep ~80 g for the next cycle)
Pro tip: Feed your starter 6–12 hours before use; it should double and pass the float test when ready.
Essential Ingredients & Equipment
Key Ingredients
1. Flour
Flour choice affects dough handling, crumb, and flavor. Typical options:
- Bread flour: High protein (12–14%) for strength and a chewy crumb.
- All-purpose: A great choice for beginners (10–12% protein).
- Whole wheat: Adds flavor and nutrition—use 10–20% of total flour at first.
- Rye: Intensifies fermentation and flavor; use carefully as it behaves differently.
2. Water
- Filtered water is best if your tap is heavily chlorinated.
- Room-temperature water helps maintain consistent fermentation.
3. Salt
- Sea salt or kosher salt is preferred; avoid iodized table salt when possible.
- Use roughly 2% of the flour weight (about 10 g salt for 500 g flour).
Essential Equipment
- Digital scale: Weighing ingredients by weight improves consistency.
- Large mixing bowl: For mixing and bulk fermentation.
- Bench scraper: Helps handle sticky dough and shape loaves.
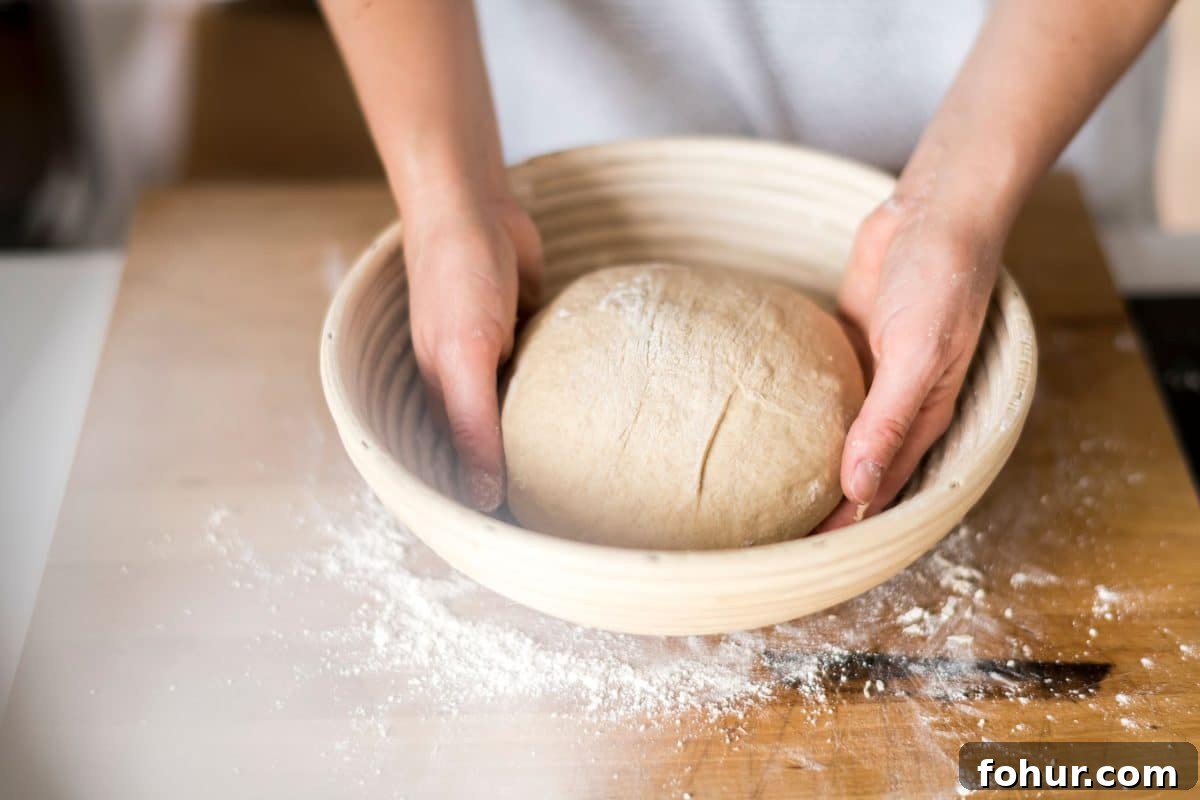
- Proofing basket (banneton): Supports final shape and patterns.
- Dutch oven: Traps steam for a crisp, glossy crust.
- Lame or sharp knife: For clean, controlled scoring.
Step-by-Step Baking Process
A reliable, straightforward workflow helps you achieve consistent results. Start with an easy overnight loaf to practice the rhythm of feeding, mixing, folding, shaping, and baking.
Step 1: Autolyse (30–60 minutes)
Mix the flour and water until just combined, then cover and rest. This stage develops gluten without kneading and improves dough extensibility.
Step 2: Add Starter and Salt
Incorporate your active starter and salt by pinching and folding until evenly combined. The dough will be tacky—that’s normal.
Step 3: Bulk Fermentation (4–6 hours)
During bulk fermentation, perform a set of stretch-and-folds every 30 minutes for the first 2 hours to build strength:
- Wet your hand, lift one side of the dough, stretch and fold over.
- Rotate the bowl and repeat four times for each set.
- Let the dough rest between sets to relax.
Step 4: Pre-shape
Gently turn the dough onto a lightly floured surface, form a loose round, and rest for 20–30 minutes to relax the gluten.
Step 5: Final Shaping
Shape into a tight boule (round) or batard (oval). Place seam-side up in a banneton or a well-floured towel-lined bowl.
Step 6: Final Proof
- Room temperature: 3–4 hours.
- Cold proof: 8–24 hours in the refrigerator for more developed flavor.
Step 7: Score and Bake
- Preheat a Dutch oven to 475°F (245°C).
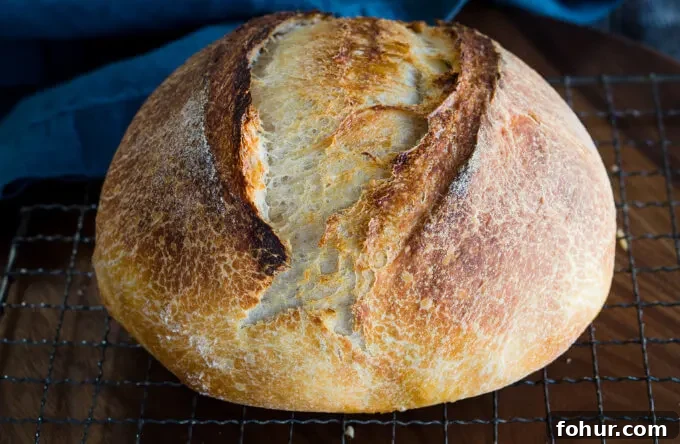
- Turn the dough onto parchment, score with a sharp blade.
- Bake covered for 20 minutes, then uncovered for 20–25 minutes until deeply browned.
- Cool for at least 1 hour before slicing to set the crumb.
A simple flipping technique—placing the dough on parchment with a pie plate or peel—helps transfer proofed loaves to the hot Dutch oven without deflating them.
Timing Your Sourdough Bake
Good timing lets you fit sourdough into your day. Below is a sample timeline you can tweak to match your schedule and ambient temperature.
| Step | Time | Details |
|---|---|---|
| Feed starter | 6–12 hours before | Starter should double in size |
| Autolyse | 30–60 minutes | Mix only flour and water |
| Add starter & salt | 0 minutes | Mix until combined |
| Bulk fermentation | 4–6 hours | Stretch & fold every 30 min |
| Pre-shape | 20–30 minutes rest | Form a loose round |
| Final shape | After rest | Tighten surface tension, place in basket |
| Cold proof | 8–24 hours | Refrigerate for flavor development |
| Score & bake | 40–45 minutes | 475°F; cover then uncover |
| Cool | 1+ hours | Let crumb set before slicing |
Troubleshooting Common Problems
Most issues are solvable with small adjustments. Here are common problems and clear fixes.
Dough Won’t Rise
- Weak starter: Feed more often until it reliably doubles in 4–6 hours.
- Too cold: Move the dough to a warmer spot (75–80°F) or use the oven with its light on.
- Low-protein flour: Add some bread flour for extra strength.
Dense or Heavy Loaf
- Under-fermented: Give bulk fermentation more time until you see growth and airiness.
- Too much flour: Handle the dough with wet hands rather than adding more flour.
- Weak gluten: Increase the number of stretch-and-fold sets.
Crust Too Hard
- Insufficient steam: Use a Dutch oven or add a pan of hot water to the oven.
- Over-baked: Lower oven temperature by 25°F and monitor crust color.
- Excess surface flour: Dust lightly to avoid a dull, floury crust.
Bread Spreads Flat
- Over-proofed: Shorten proofing time or chill the dough earlier.
- Poor shaping: Create more surface tension when shaping.
- Weak structure: Ensure proper gluten development with more folds.
Gummy Interior
- Under-baked: Check that internal temperature reaches about 205°F (96°C).
- Cutting too soon: Wait at least one hour before slicing to let the crumb finish setting.
- Too high hydration: Reduce water slightly next time.
Adding Flavors — Inclusions Guide
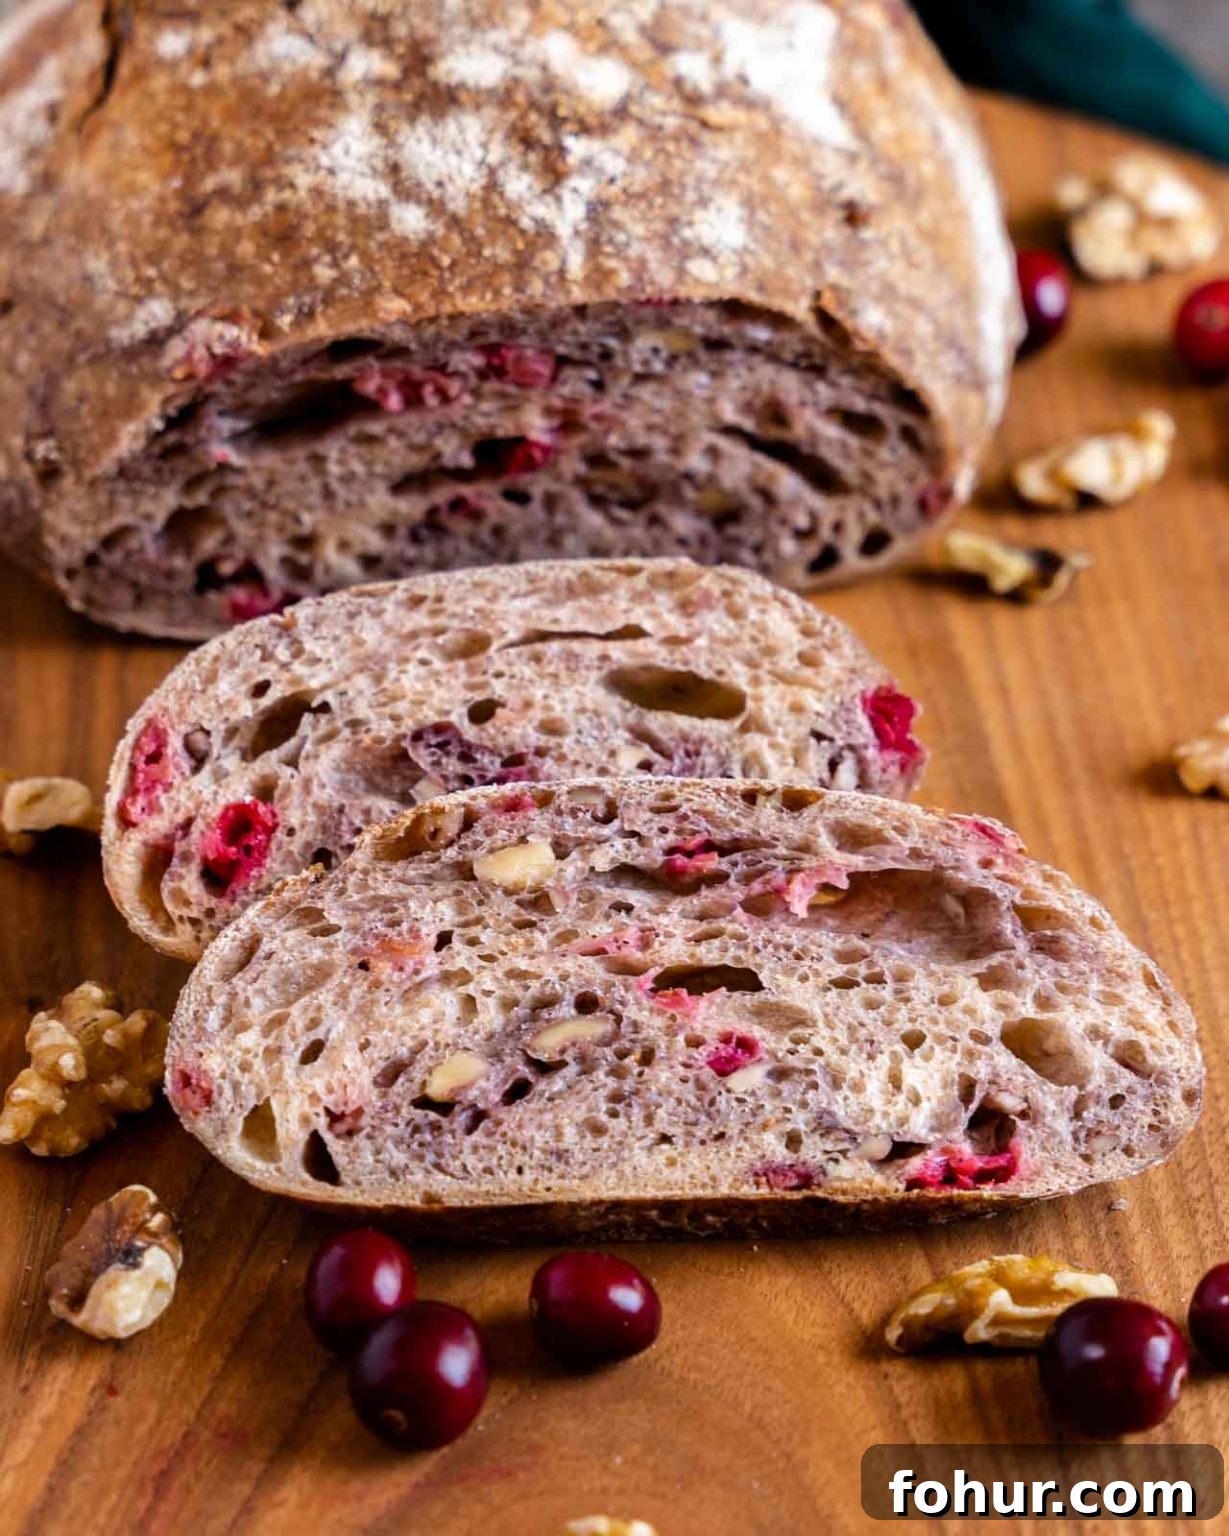
Mix-ins add interest and personality to your loaves. Add them at the right time and in the right amount so they integrate without weakening the dough.
When to Add Inclusions
The best moment is during bulk fermentation after the first hour—this helps distribute inclusions evenly without overworking the gluten.
How to Add Inclusions
- Gently flatten the dough into a rectangle.
- Evenly sprinkle the inclusions across the surface.
- Roll the dough like a jelly roll to enclose the mix-ins.
- Use additional stretch-and-folds to disperse them throughout the dough.
Popular Savory Inclusions
- Cheese: Sharp cheddar, Gruyère, or feta (50–100 g).
- Herbs: Fresh rosemary, thyme, or seasoning blends.
- Nuts & seeds: Walnuts, sunflower, or pumpkin seeds.
- Mediterranean: Olives, sun-dried tomatoes, roasted garlic.
Popular Sweet Inclusions
- Dried fruit: Cranberries, raisins, apricots, or dates.
- Chocolate: Dark chocolate chips pair nicely with tangy sourdough.
- Cinnamon sugar: For swirls and sweet loaves.
- Citrus: Lemon or orange zest to brighten flavor.
Pro Tips for Inclusions
- Use inclusions equal to about 10–20% of the flour weight (50–100 g for a 500 g flour recipe).
- Soak dried fruit briefly to prevent it from pulling moisture from the dough.
- Keep the Dutch oven covered a bit longer when baking with sugary mix-ins to avoid burning.
Creative Uses for Sourdough Discard
-
 Baked donuts
 -
Cheesy scones
-
Pancakes



Sourdough discard is a versatile ingredient for quick recipes that don’t require long fermentation. It adds flavor and a pleasant tang to many baked goods.
Best Ingredients to Pair with Discard
Leavening agents (for lift)
- Baking powder and baking soda—for pancakes, muffins, and quick breads.
- Eggs—for structure in waffles and enriched batters.
- A small amount of commercial yeast—for speedy pizza dough when time is short.
Fats (for texture)
- Butter—for flaky biscuits and tender cookies.
- Olive oil—for crackers and flatbreads.
- Coconut oil—for moist muffins and banana bread.
Popular Discard Recipes
Discard works beautifully in pancakes, waffles, crackers, scones, and quick breads. Keep a running list of your favorites and experiment with sweet and savory versions.
Pro Tips for Sourdough Success
The following tips come from experience and will help you improve loaves faster.
Temperature Control
- Aim for dough temperatures around 75–80°F (24–27°C) for predictable fermentation.
- Measure dough temperature with an instant-read thermometer for consistency.
- In colder kitchens, expect longer fermentation times.
Hydration Wisdom
- Begin with about 70% hydration (350 g water to 500 g flour) for a good balance of handling and crumb.
- Higher hydration makes a more open crumb but is harder to manage.
- Adjust hydration to your flour and local climate.
Timing Flexibility
- Watch the dough, not just the clock—visual and tactile cues matter more than exact minutes.
- Look for about a 50% volume increase during bulk fermentation as a guideline.
- Use the poke test: dough should spring back slowly when ready to shape or bake.
Essential Reminders
- Always bake by weight for repeatable results.
- Keep a baking journal to track what works in your kitchen.
- Practice regularly—each loaf teaches you something new.
- Share tips with other bakers and don’t be afraid to experiment once you’ve mastered the basics.
Final Thoughts
Sourdough baking is a rewarding journey that grows with practice. Every loaf gives you more knowledge about your starter, your dough, and your oven. Mistakes are part of the learning process—even experienced bakers have off days.
There’s no single “right” sourdough. Whether you like a mild tang or a pronounced sour flavor, an open crumb or a tighter texture, make choices that suit your taste and keep enjoying the process.
If you have questions as you bake, reach out to fellow bakers, read widely, and keep experimenting—you’ll get there one loaf at a time.
Enjoyed this guide? Save it for later and follow the creator on social media for more sourdough tips and recipes.