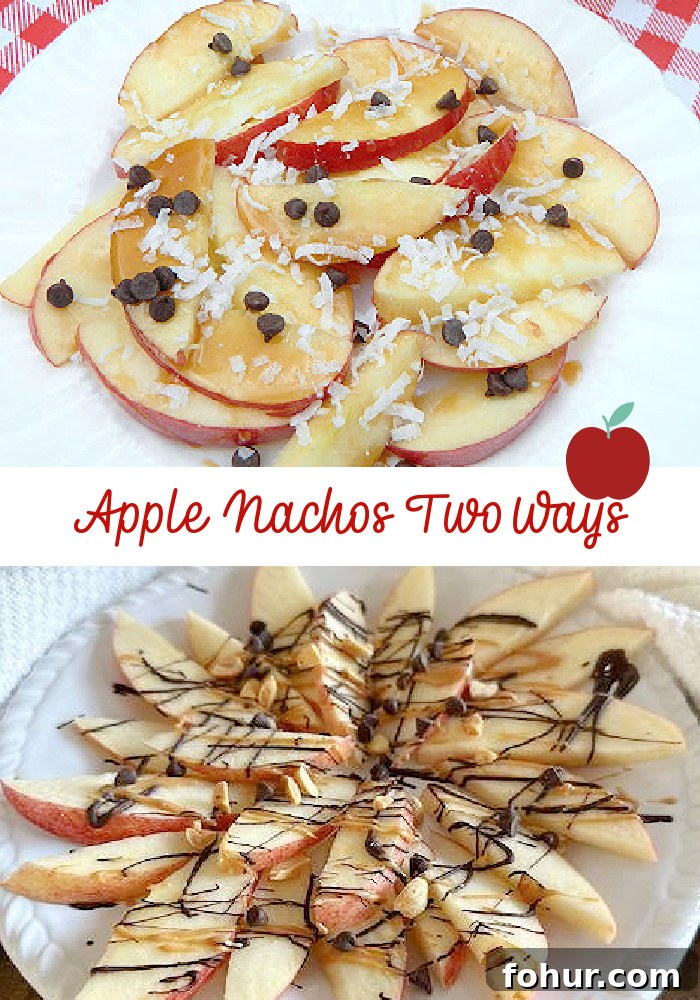
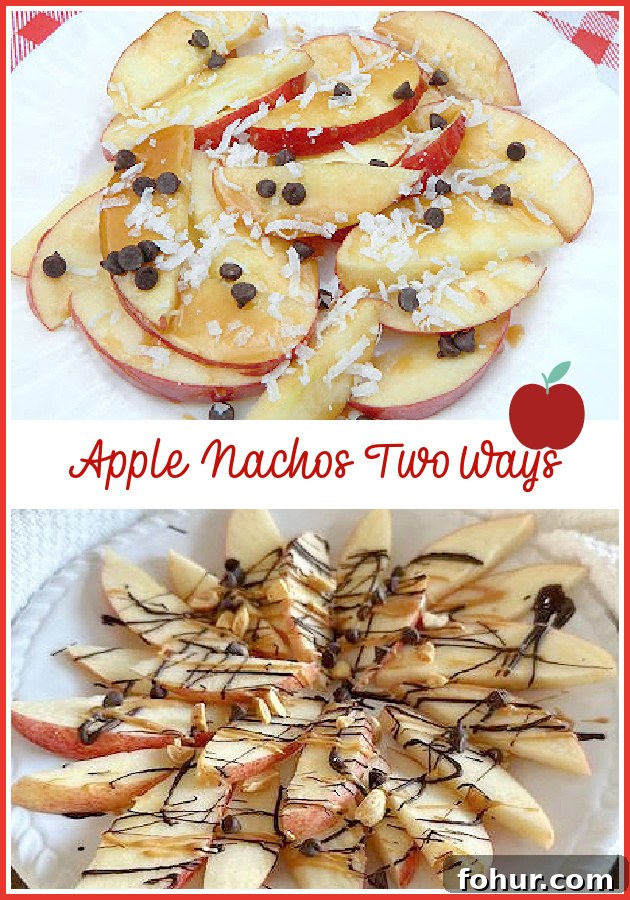
Apple Nachos Two Ways
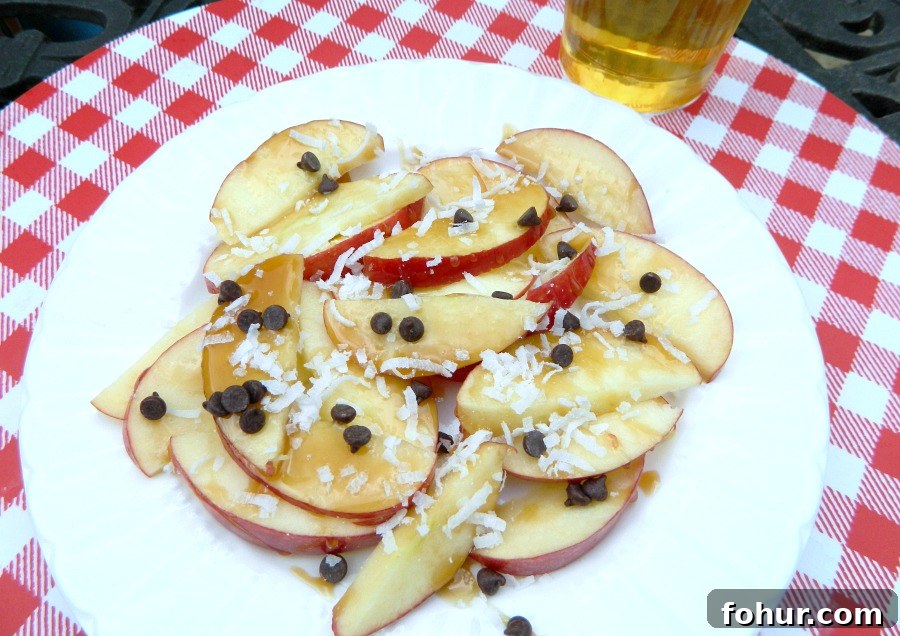
These two variations of apple nachos are quick, fun, and perfect for kids and adults alike. Each recipe highlights crisp apple slices piled with simple toppings—one with caramel and coconut, the other with peanut butter and chocolate. They’re easy to prepare, customizable, and ideal for a snack, dessert, or party platter.
We’re big apple fans in this household, and I’ve been making apple nachos for years with my kids. Now that they’re older, it’s still a favorite to serve to family and guests. Apple nachos are great because everyone can pick their favorite toppings, and they’re a fresh, crunchy option when you want something sweet without a lot of fuss.
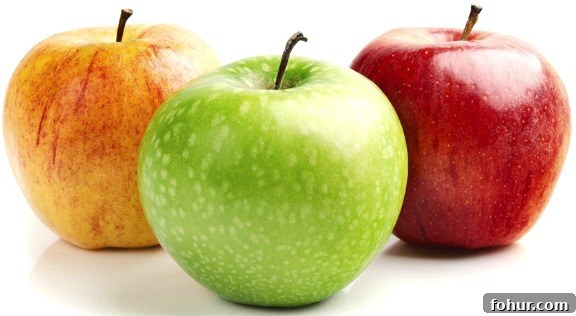
When apple season arrives, we try many varieties, but Gala is our go-to. Its balanced sweetness and crisp texture make it ideal for snacking and for these easy apple nachos. Even in spring and summer, when other fruits are abundant, apples offer a nice, familiar contrast—especially when topped with a drizzle or sprinkle of something special.
Quick and Easy Apple Nachos
Yields: 3 servings. Total prep time: about 10 minutes.
Ingredients for Caramel Apple Nachos
- 1 large or 2 small Gala apples (or your favorite crisp apple)
- 4 tablespoons caramel syrup or honey
- 2 tablespoons sweetened shredded coconut (optional: toast for a nuttier flavor)
- 2 tablespoons mini semisweet chocolate chips
- 1 teaspoon fresh lemon or orange juice (optional, to prevent browning and add brightness)
Directions — Caramel Apple Nachos
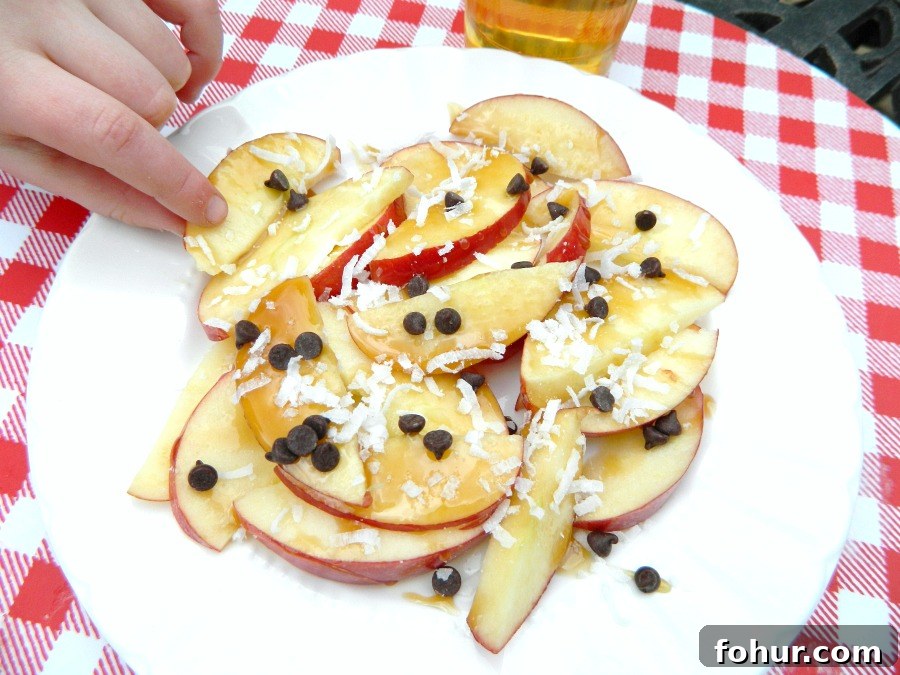
- Wash and dry the apple. Slice into very thin rounds or wedges for easy snacking.
- If using caramel syrup or thick honey, warm it briefly in the microwave (7–10 seconds) so it becomes pourable.
- Arrange the apple slices on a plate. If you like, squeeze a little fresh lemon or orange juice over the slices to brighten the flavor and slow browning.
- Drizzle the caramel or honey evenly over the apples, then sprinkle with shredded coconut and mini chocolate chips. Serve immediately.
Ingredients for Chocolate-Peanut Butter Apple Nachos
- 1–2 large apples of your choice, thinly sliced
- 1–2 tablespoons smooth peanut butter
- 1–2 tablespoons mini chocolate chips
- 1 teaspoon coconut oil (optional, helps melt chocolate smoothly)
- 1–2 tablespoons chopped roasted peanuts
- 1 teaspoon fresh orange juice (optional)
Directions — Peanut Butter & Chocolate Apple Nachos
- Warm the peanut butter in a microwave-safe bowl for about 10–15 seconds, stirring until it’s pourable but not overly thin.
- If melting chocolate chips, combine them with a tiny amount of coconut oil in a microwave-safe dish and heat in short bursts (15–20 seconds, stir, then 7–10 seconds more) until smooth and glossy.
- Wash and dry the apples, then slice them very thin. Arrange the slices on a platter in a circular pattern, working from the outside in. If desired, drizzle a little fresh orange juice over the apples.
- Drizzle the warmed peanut butter over the apples, followed by the melted chocolate. Scatter chopped peanuts and mini chocolate chips on top.
- Serve right away so the toppings stay fresh and the apples remain crisp.
Both versions are highly adaptable. Swap the nuts or chips for granola, raisins, or chopped dried fruit to suit dietary needs and tastes. For a nut-free version, use sunflower seed butter instead of peanut butter and omit the chopped peanuts.
Tips for best results: slice apples as thin as you can for easy eating, serve on a wide plate so toppings distribute evenly, and prepare toppings just before serving to keep textures crisp. These apple nachos are ideal for a quick dessert, an after-school snack, or a colorful party appetizer.
Final Notes
I hope you enjoy these simple, tasty apple nacho recipes. They’re easy to make, fun to share, and a great way to enjoy fresh apples with a sweet twist. Save or print the recipes for later so you can make them again and experiment with your favorite toppings.