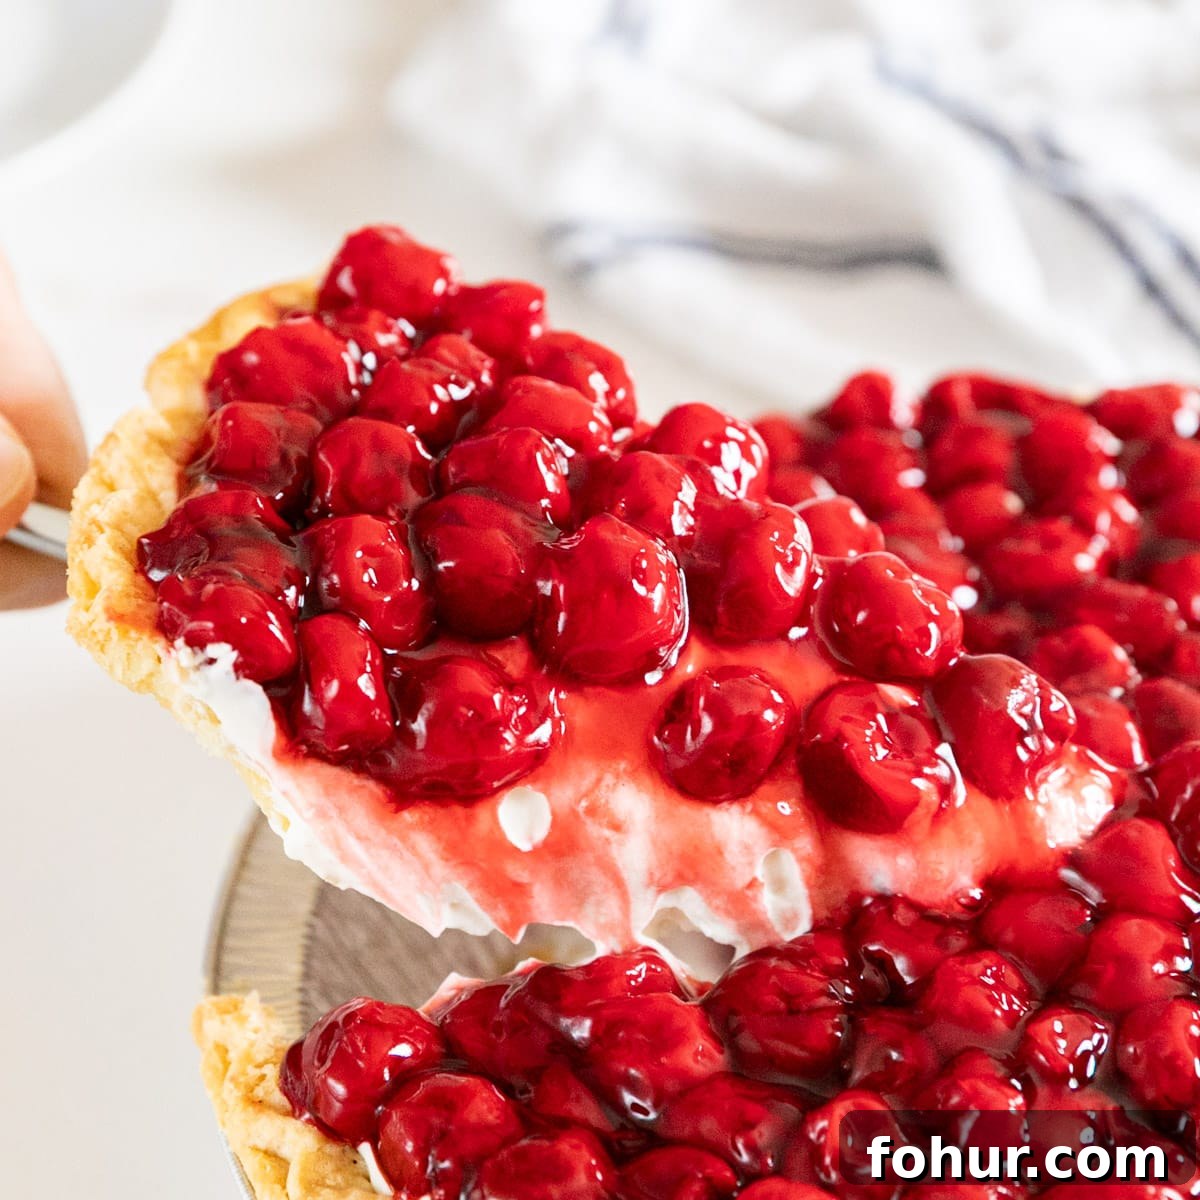
Grandma Rosie’s award-winning cherry cheese pie is a beloved family recipe — easy to make and reliably delicious. Think of it as a cross between cherry pie and cheesecake: creamy, fruity, and ready in about 30 minutes of hands-on time. It’s simple, impressive, and perfect for holidays or casual gatherings.
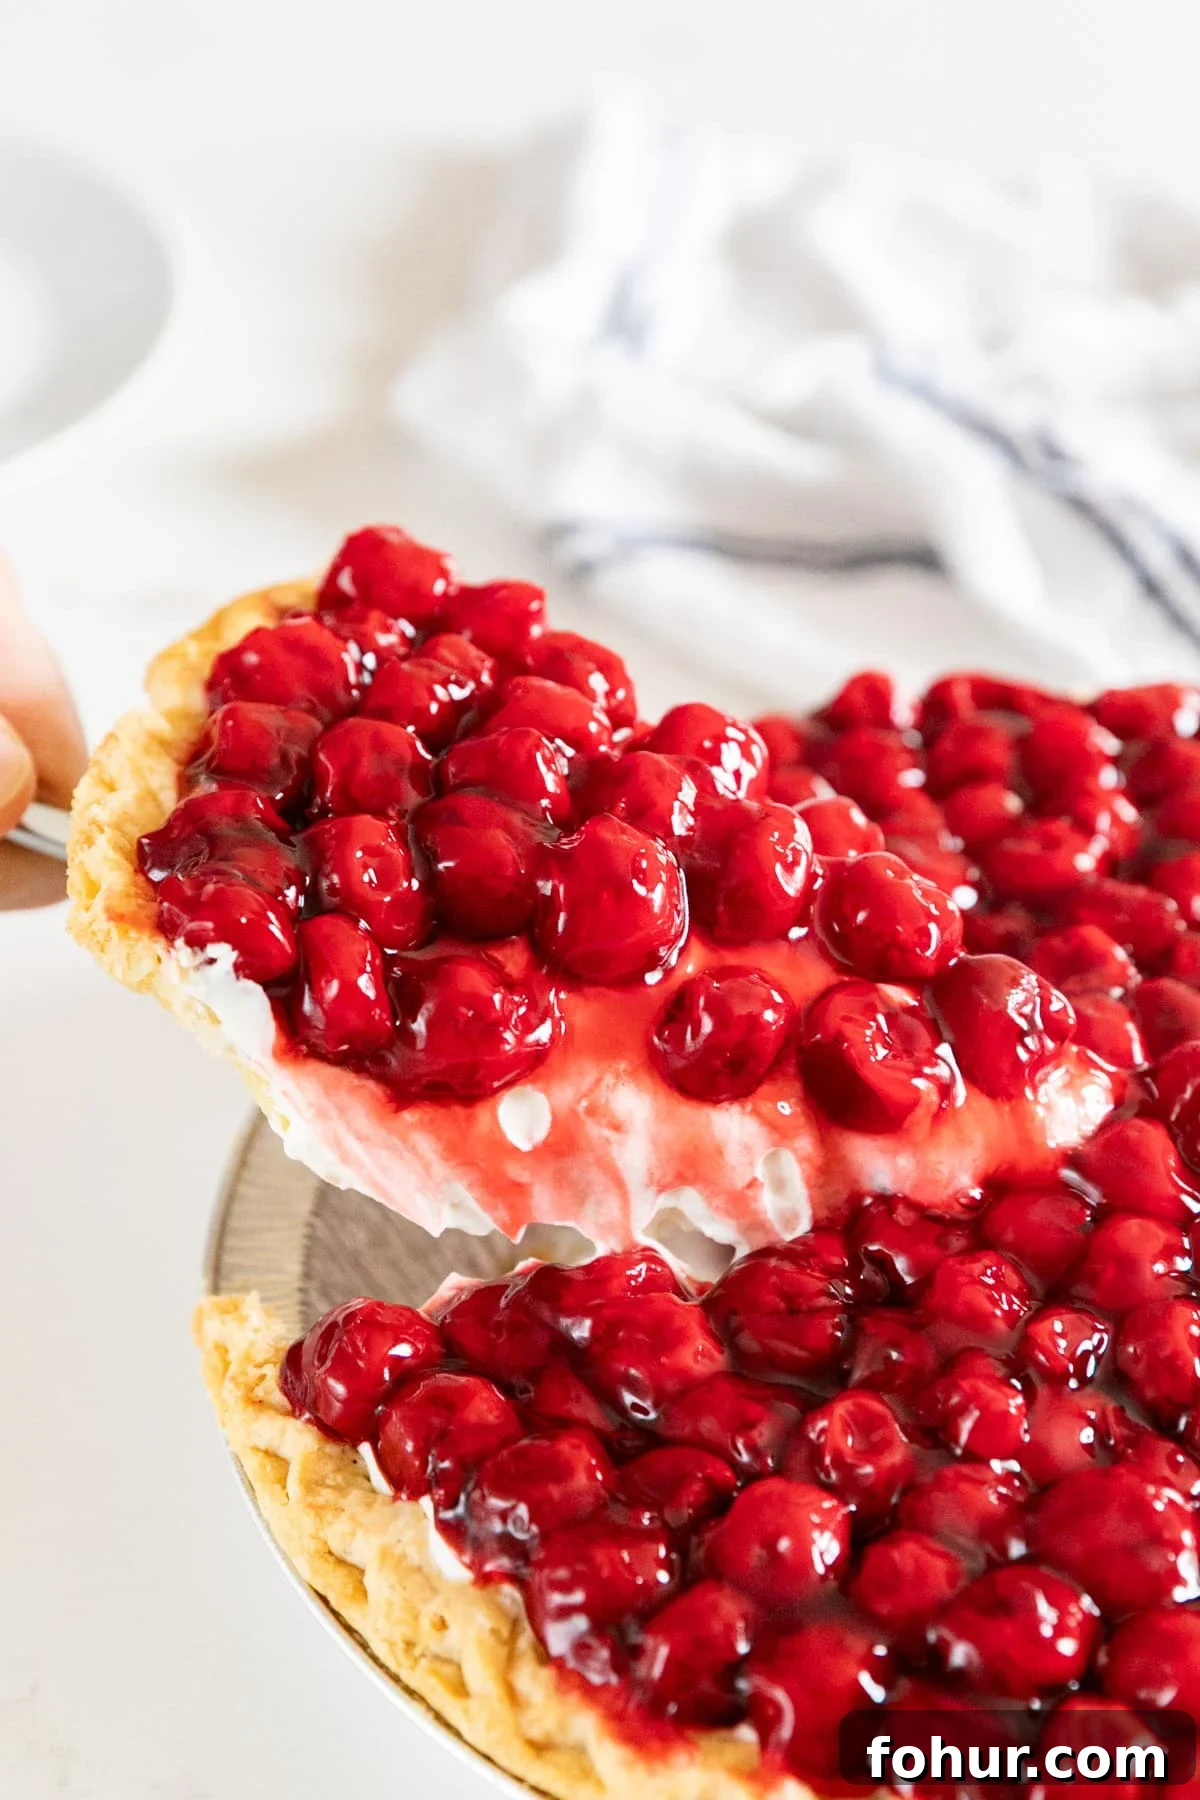
Why You’ll Love Cheesecake Pie
This cherry cheese pie has been a staple at family get-togethers for decades. Grandma Rosie kept the recipe close for years, then began sharing it after it won an award at her local senior center. The result is a dessert that combines the creamy tang of a cheesecake filling with the bright sweetness of cherry pie topping. It’s approachable for bakers of all skill levels and looks beautiful on any dessert table.
Highlights:
- Bright cherry flavor balanced by a silky cream cheese filling
- Uses simple ingredients most pantries already have
- Attractive, photogenic finish — great for guests
- Easy to make ahead and store
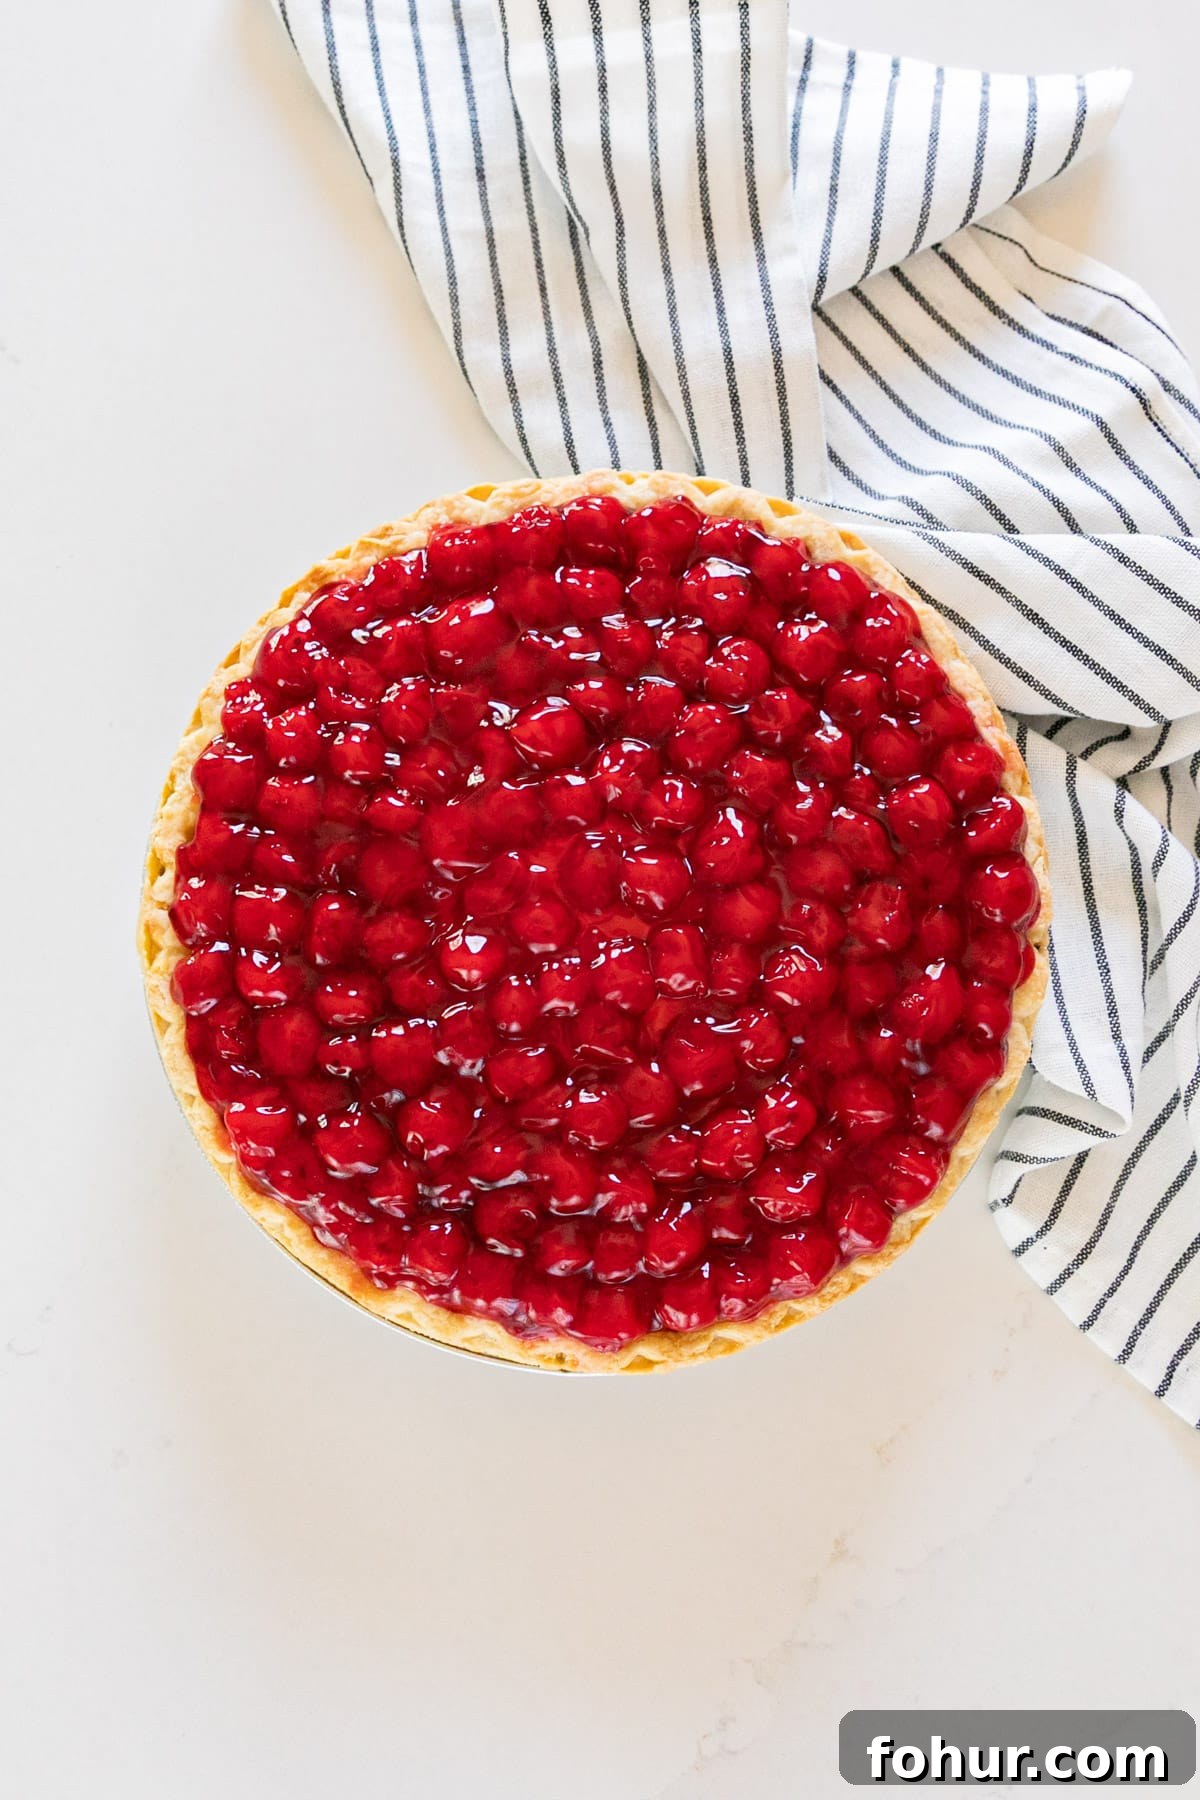
Ingredient Information and Substitutions
- Cream Cheese — The base of the filling. Use full-fat cream cheese for the best texture and flavor; soften it to room temperature so it blends smoothly.
- Heavy Cream — Whipped to soft peaks and folded into the cheese mixture to lighten the filling. You can substitute whipping cream but avoid pre-sweetened whipped toppings for best texture and sweetness control.
- Confectioner’s Sugar — Also called powdered sugar. It dissolves quickly into the cream cheese and keeps the filling silky rather than gritty.
- Pure Vanilla Extract — A small amount enhances the overall flavor.
- Pie Crust — A pre-baked pie shell saves time; this recipe is scaled for a 10-inch crust. If you use a smaller crust, you can serve extra filling with graham crackers or cookies.
- Cherry Pie Filling — Canned cherry pie filling is convenient and consistent. Look for cans labeled “extra fruit” if you prefer more cherries; you may need three cans to fully cover the pie depending on the brand and can size.
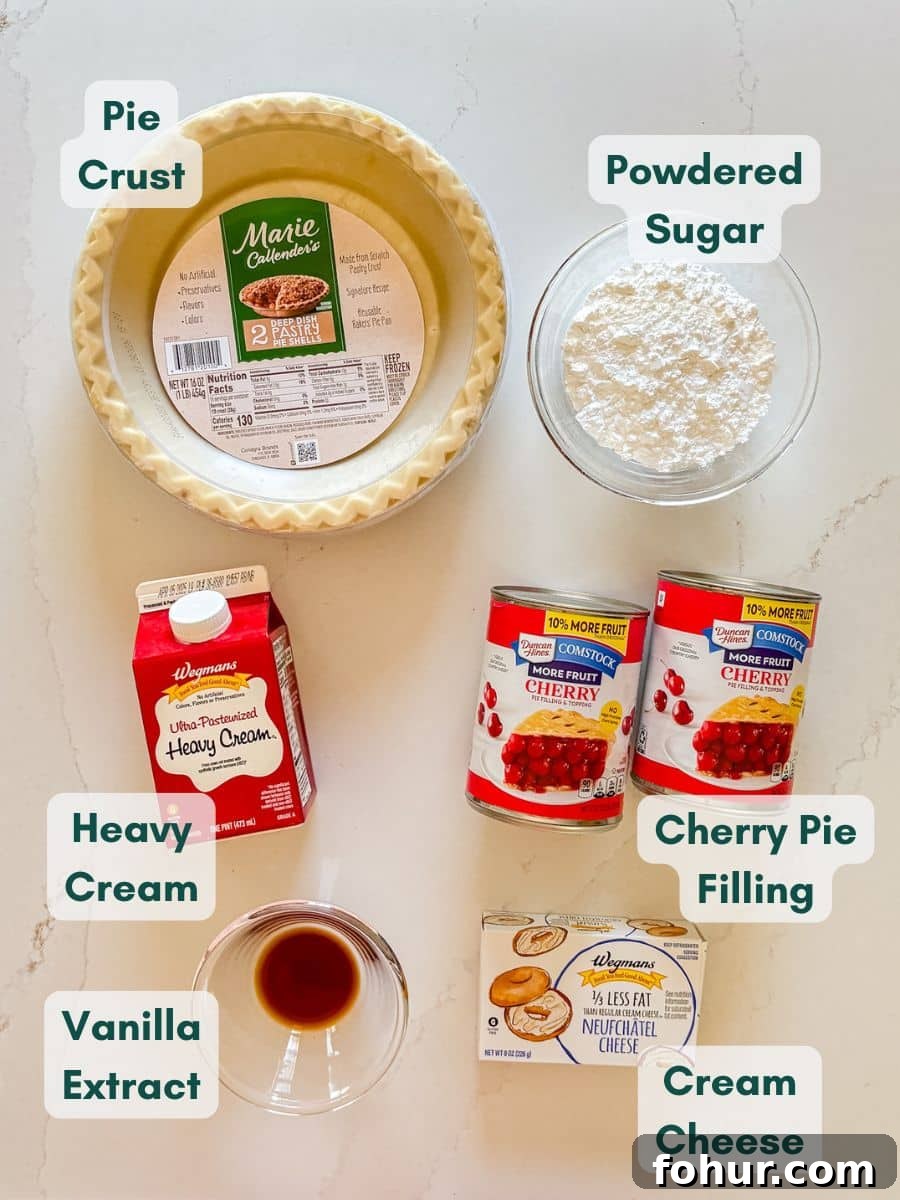
How to Make Cherry Cream Pie
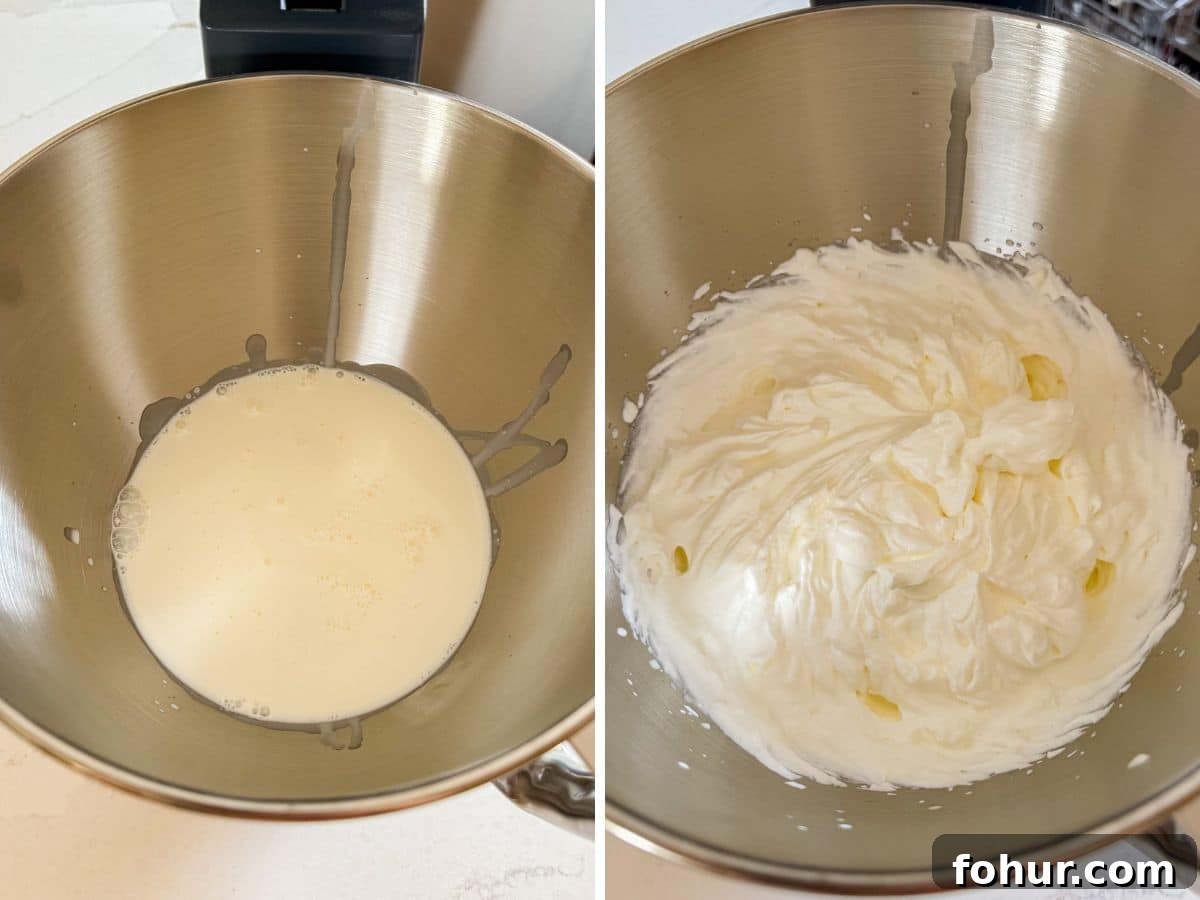
Step 1 — Whip the cream.
Pour the heavy cream into a chilled bowl and beat on high until soft to medium peaks form. Transfer the whipped cream to a separate bowl and set aside.
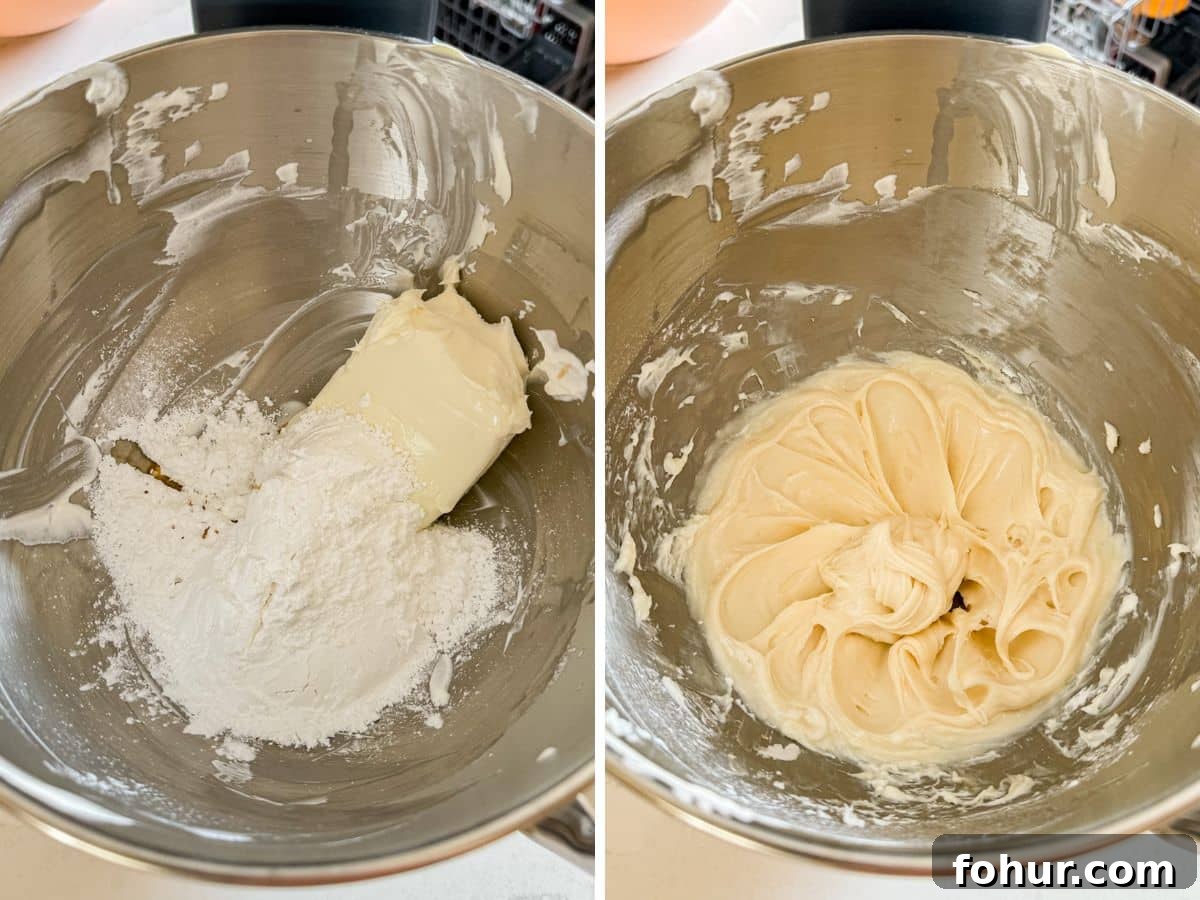
Step 2 — Prepare the cream cheese mixture.
In the mixer bowl, beat the softened cream cheese with the confectioner’s sugar and vanilla until smooth and fully combined. Scrape the sides to ensure there are no lumps.
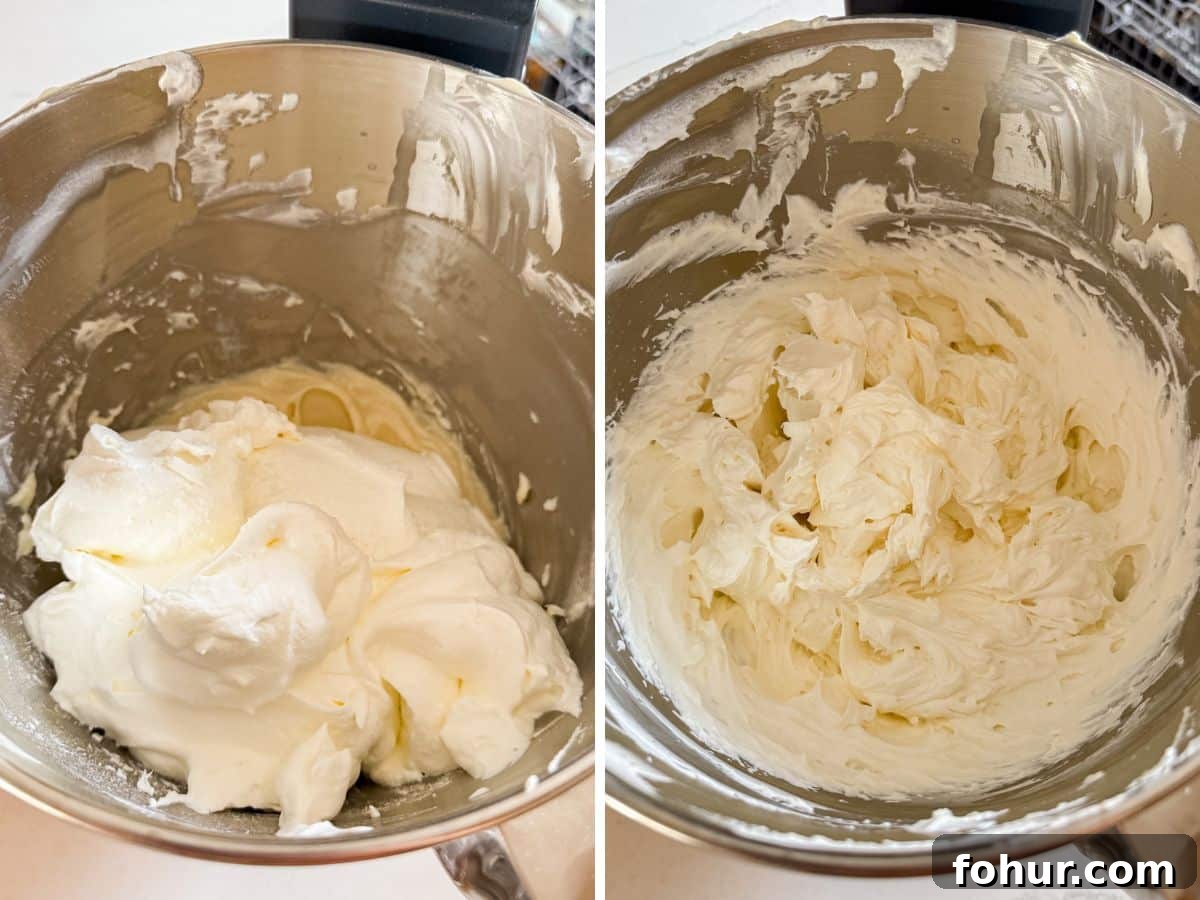
Step 3 — Fold together.
Gently fold the sweetened cream cheese into the whipped cream until evenly combined. Avoid overmixing to keep the filling light and airy.
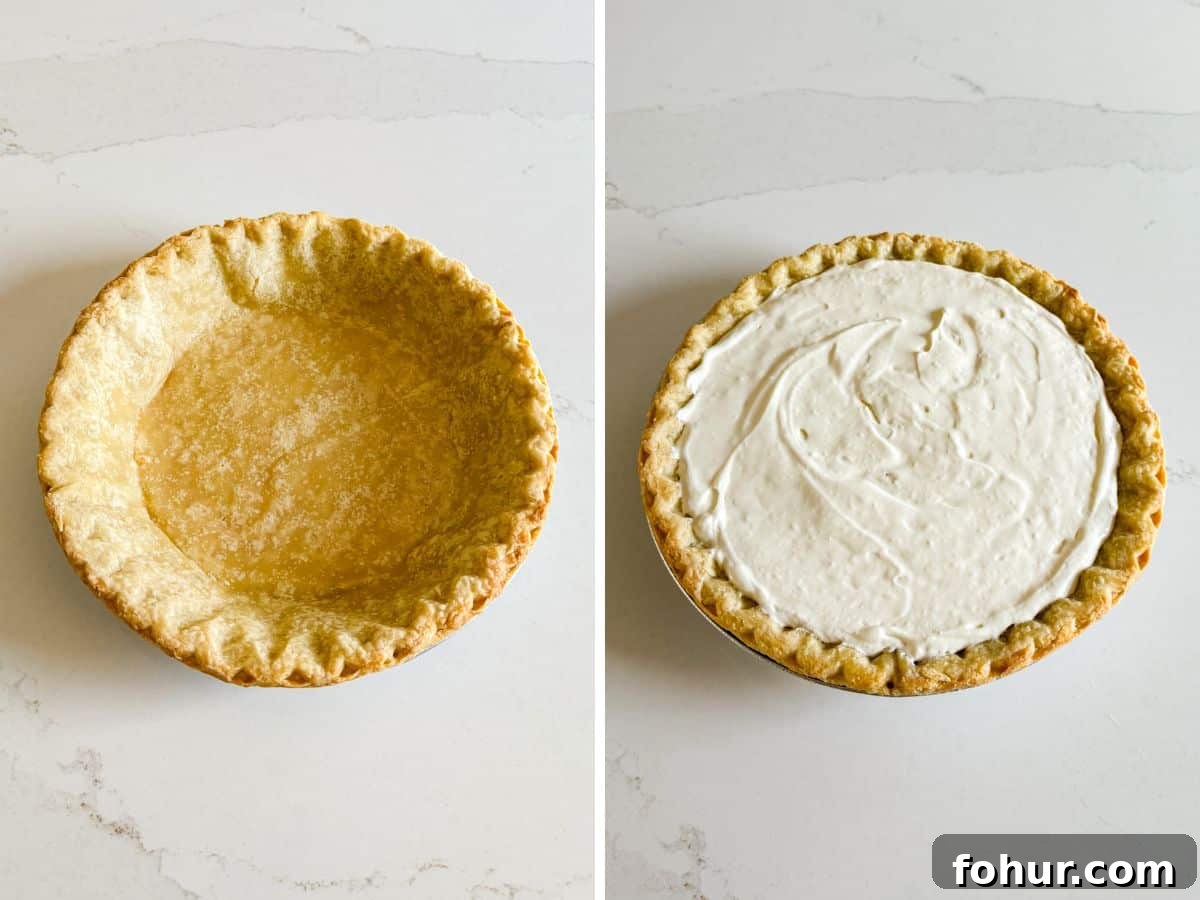
Step 4 — Assemble and chill.
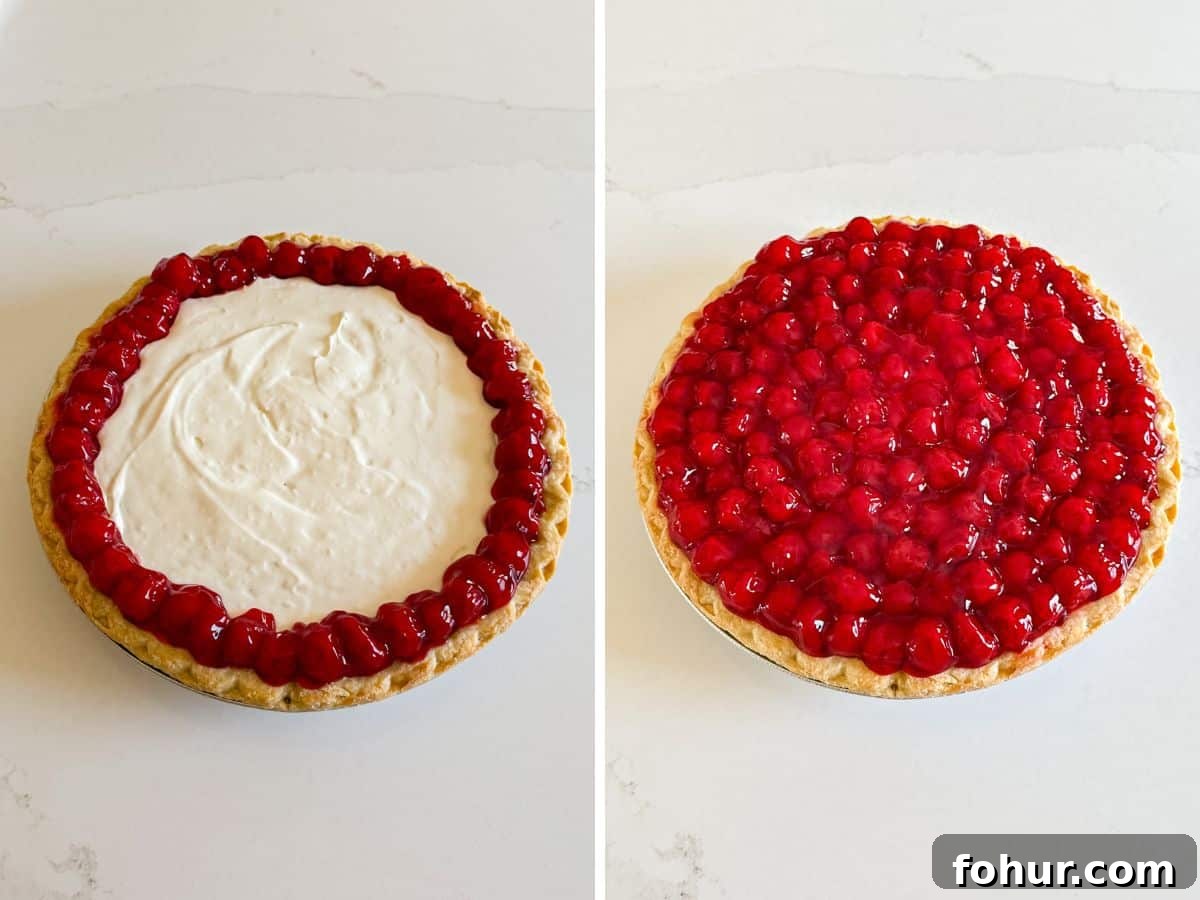
Fill the baked and cooled pie crust with the cream cheese mixture and smooth the top. Arrange cherries from the pie filling across the top — placing them individually achieves the most attractive result and prevents clumps of syrup. Chill the pie until firm enough to slice, at least one hour.
Frequently Asked Questions
Traditional cheesecakes are usually baked and dense; this pie is a no-bake cream cheese filling folded with whipped cream, so it stays light and fluffy. Only the crust is baked.
Store-bought whipped topping is convenient but often contains added sugar and stabilizers that change texture and sweetness. Freshly whipped heavy cream gives the best flavor and consistency.
Yes. You can bake the crust and prepare the filling a day ahead, then assemble the pie the next day. The pie also keeps well in the refrigerator for a couple of days.
Use room-temperature cream cheese and beat it well with the powdered sugar before folding in the whipped cream. Scraping the bowl and ensuring the sugar is fully incorporated helps produce a smooth filling.
Tips for Making This Cheesecake Pie
- Use a pre-baked crust: A frozen store-bought crust saves time and yields consistent results.
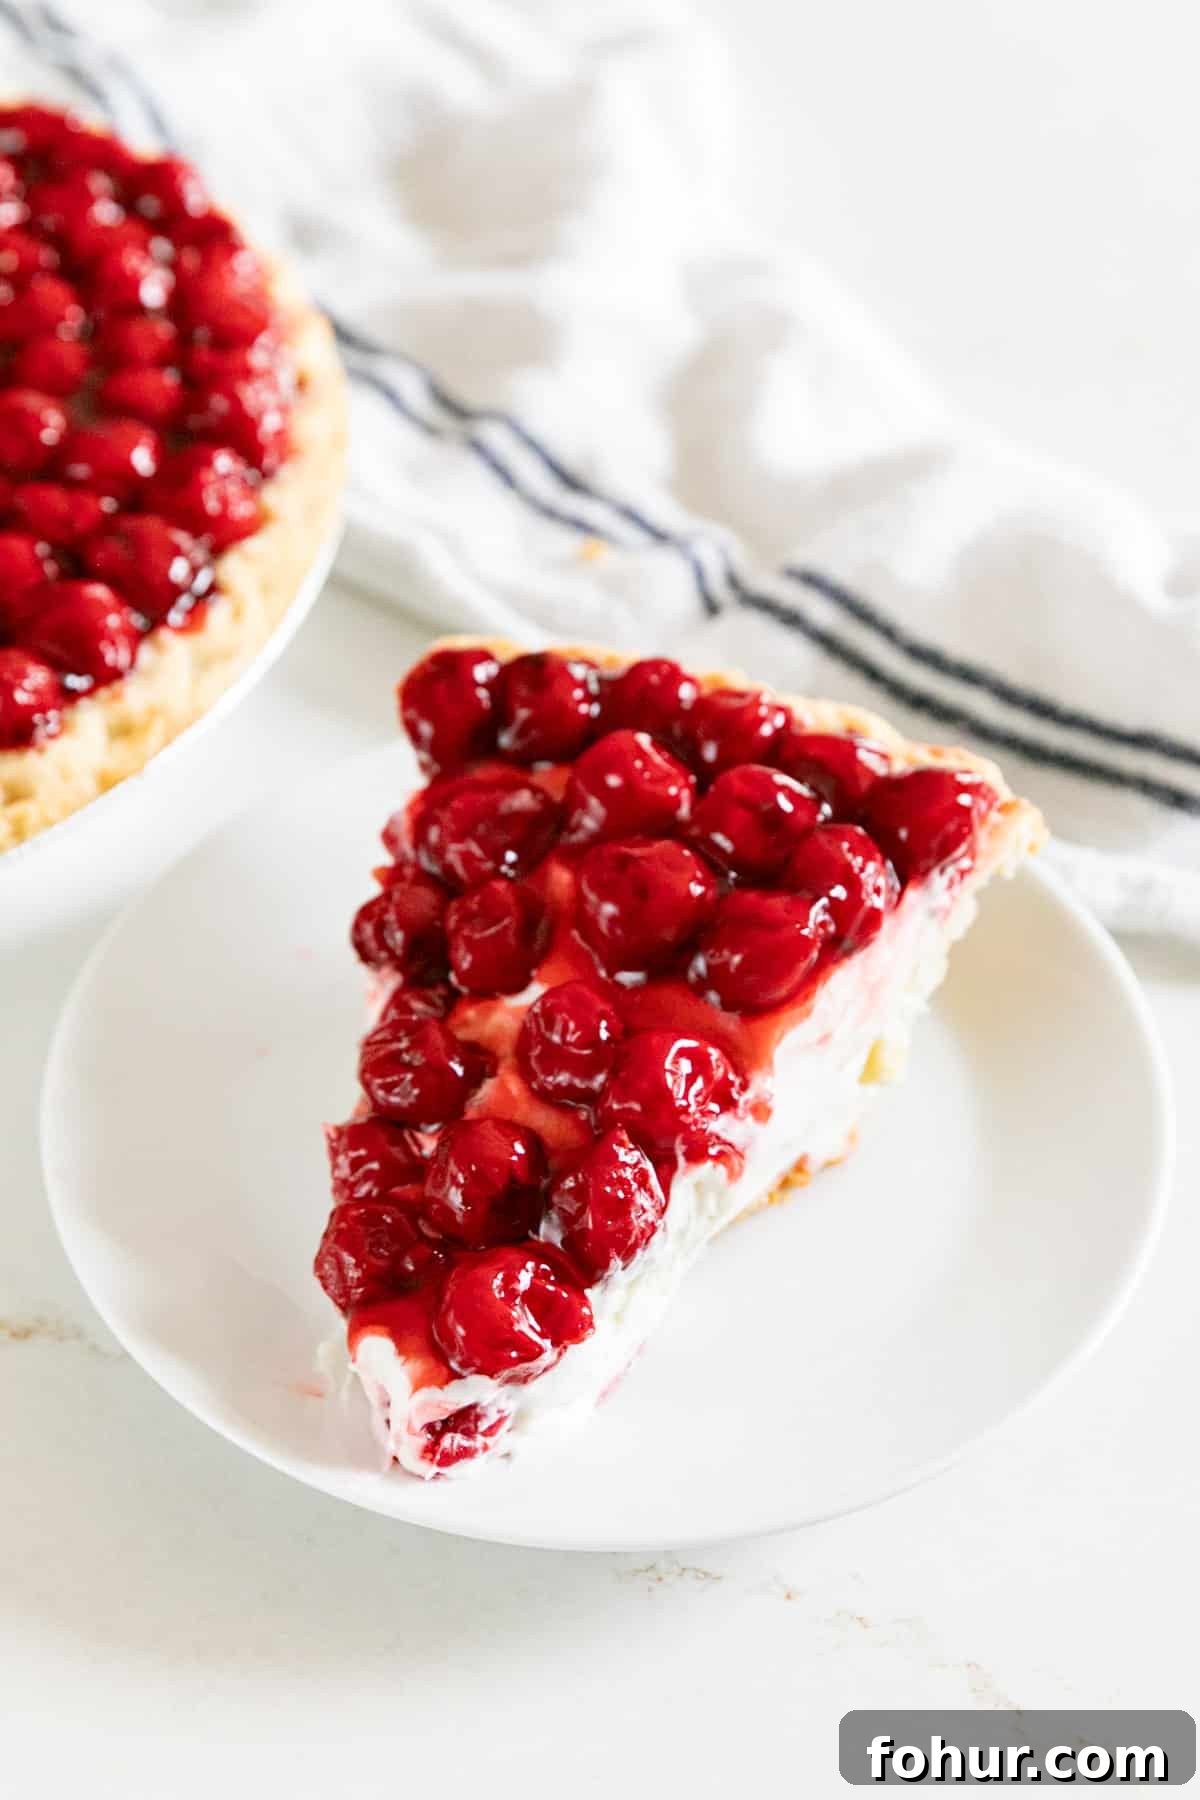
- Place cherries one by one: Taking a little extra time to place cherries individually gives a neat, even layer and prevents a syrupy mess.
- Arrange cherries thoughtfully: Start from the center and work outward or go from the edge inward — both methods work. Blot excess syrup before placing each cherry if you want a firmer topping.
- Texture: The pie is meant to be soft and creamy. If you prefer it firmer, chill longer before serving.
- Flavor variations: Try other pie fillings like blueberry or mixed berry for different tastes.
- Make-ahead: You can prepare components the night before; assembled pies can be stored in the fridge for up to 3 days.
What to Serve With Rosie’s Cream Cheese Pie
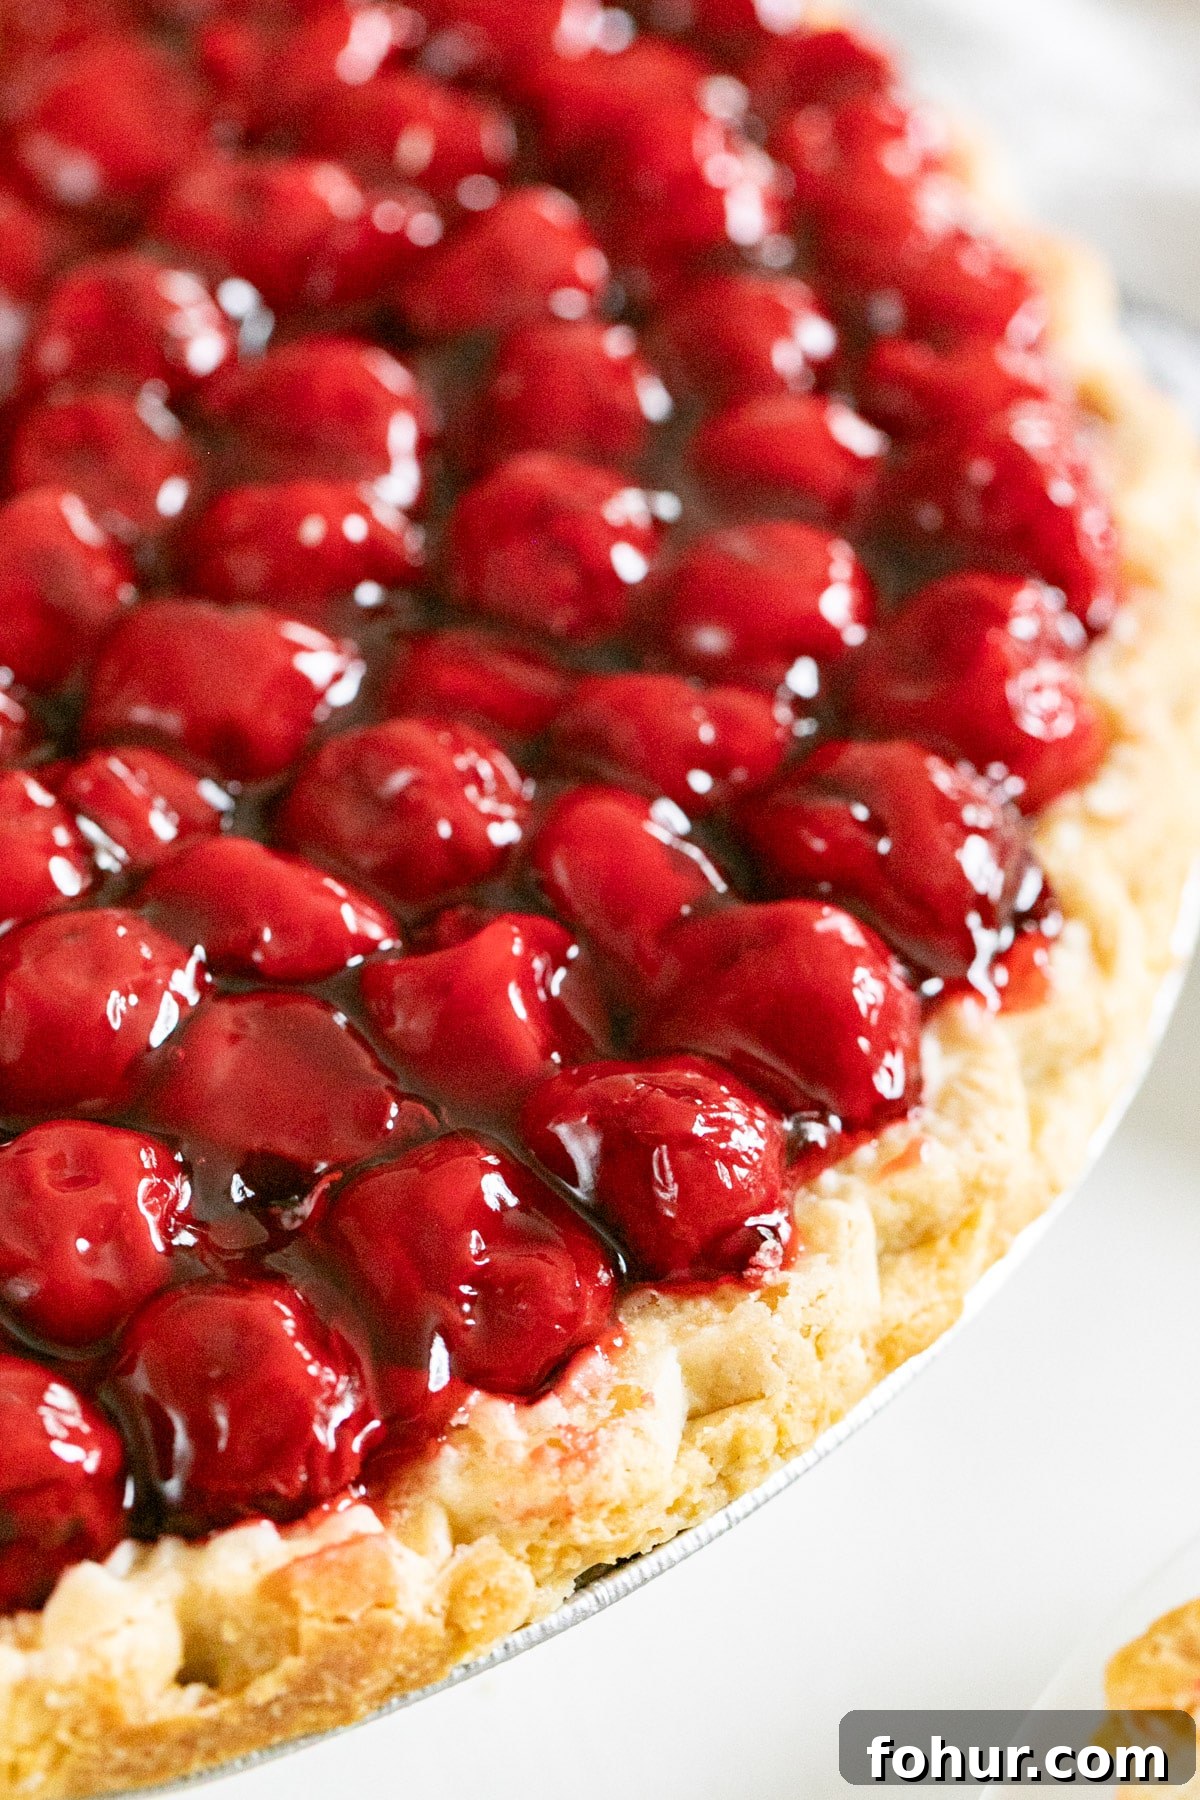
This pie suits many occasions — summer cookouts, holiday dinners, or potlucks. Its bright cherry topping complements savory summer fare and rich holiday dishes alike. Pair it with a simple coffee station, light fruit salad, or classic barbecue sides for a balanced menu.
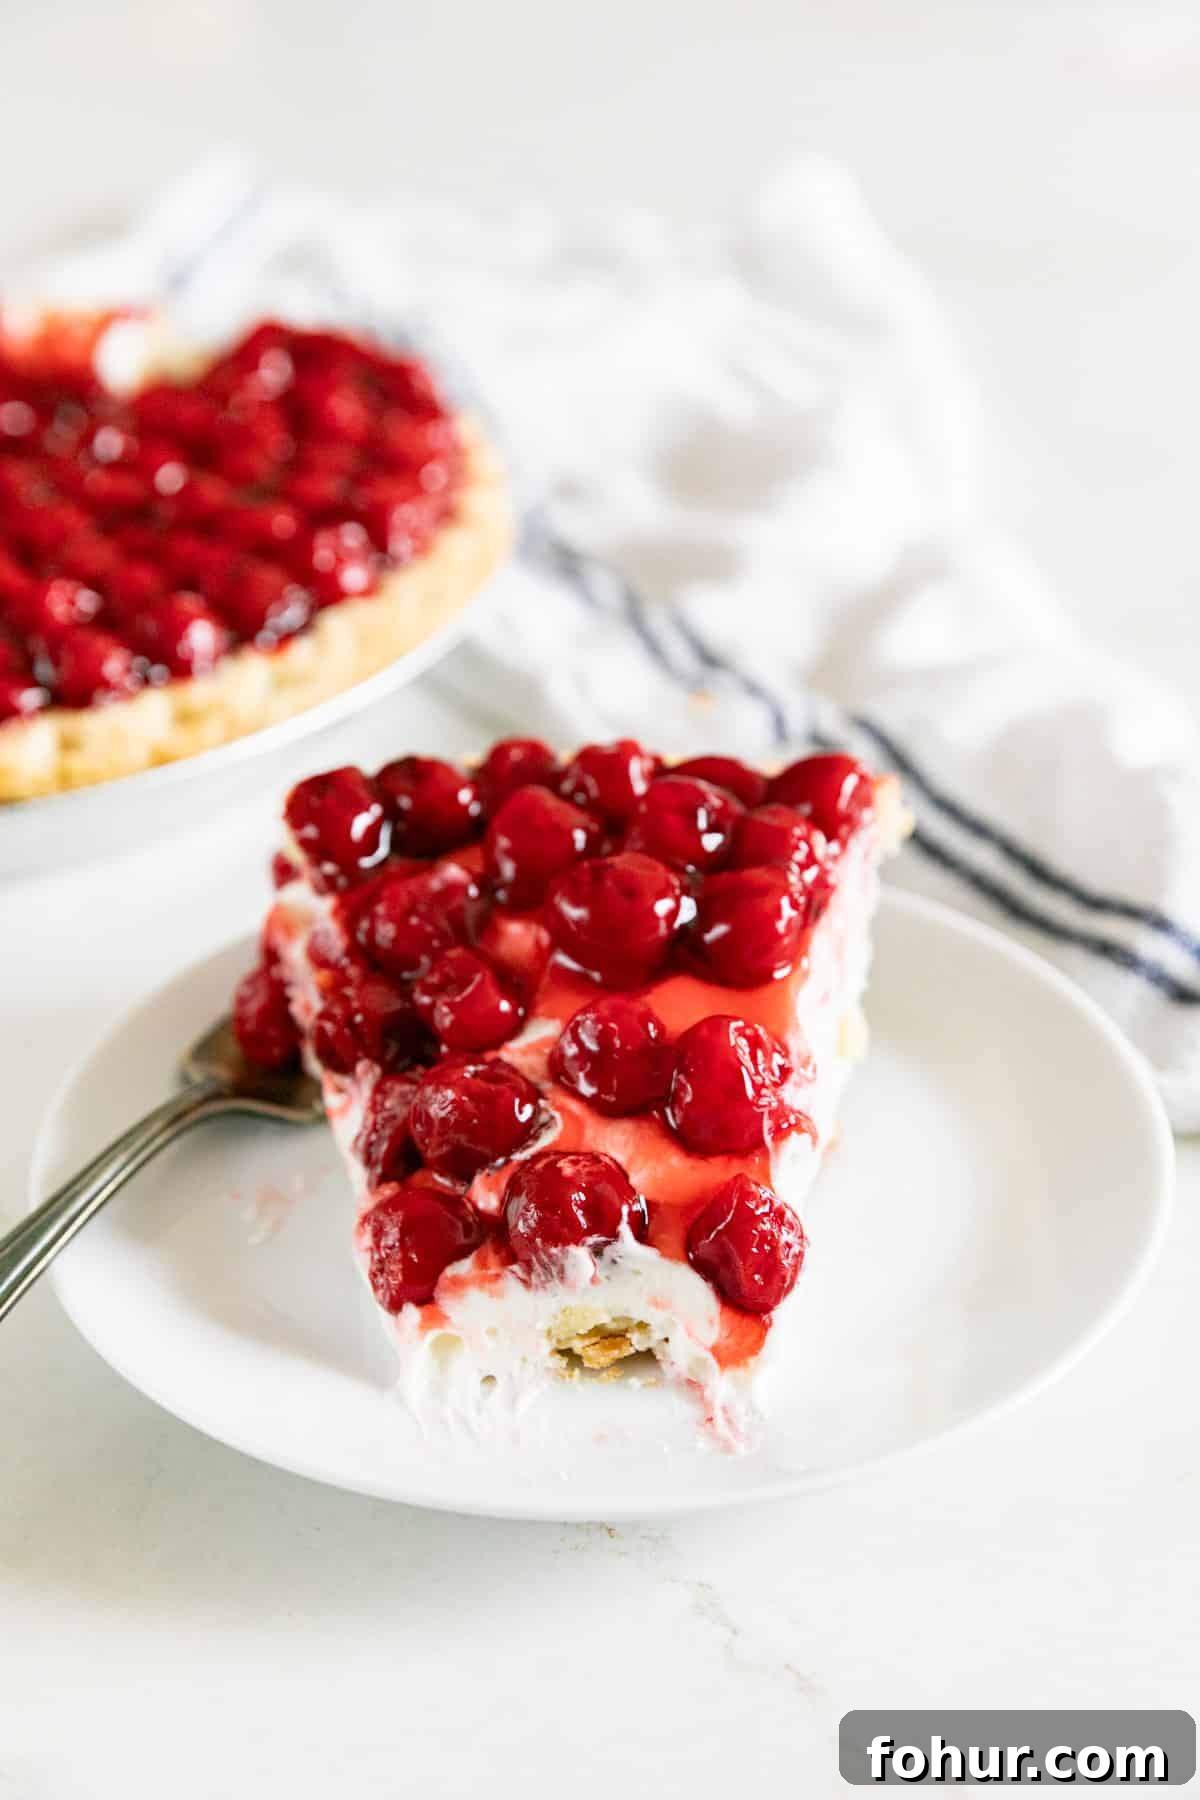
Cherry Cheese Pie — Recipe
Author: Jessy Freimann
Prep Time: 10 mins | Cook Time: 20 mins (crust) | Total Time: 30 mins
Servings: 8
Ingredients
- 1 pint heavy cream
- 8 ounces cream cheese, softened
- 1 cup confectioner’s (powdered) sugar
- 1 teaspoon pure vanilla extract
- 1 baked and cooled pie crust (10-inch recommended)
- 3 cans cherry pie filling (use more or fewer depending on can size and preference)
Instructions
- In a large bowl, beat the heavy cream until stiff enough to hold fluffy peaks. Transfer to another bowl and set aside.
- In the mixer bowl, beat the softened cream cheese with the confectioner’s sugar and vanilla until smooth and lump-free.
- Gently fold the cream cheese mixture into the whipped cream until combined and light.
- Spoon the filling into the baked and cooled pie crust and smooth the top with a spatula.
- Arrange the cherries on top in concentric circles or your preferred pattern until the top is fully covered.
- Refrigerate for at least one hour before serving to chill and slightly set the filling.
Notes
- The pie keeps in an airtight container in the refrigerator for up to 3 days. Cherries may bleed into the filling over time but the pie will still taste great.
- If you prefer a firmer texture, chill longer or briefly chill the filling before adding cherries.
- Small variations — like using a graham cracker crust or swapping cherries for blueberries — work well and make tasty alternatives.
Hosting Thanksgiving?
Make hosting simpler by planning ahead. This no-bake style pie is an easy dessert that can be prepped in stages so dessert day is less stressful.